
Bathrooms only, in Denver, since 2011

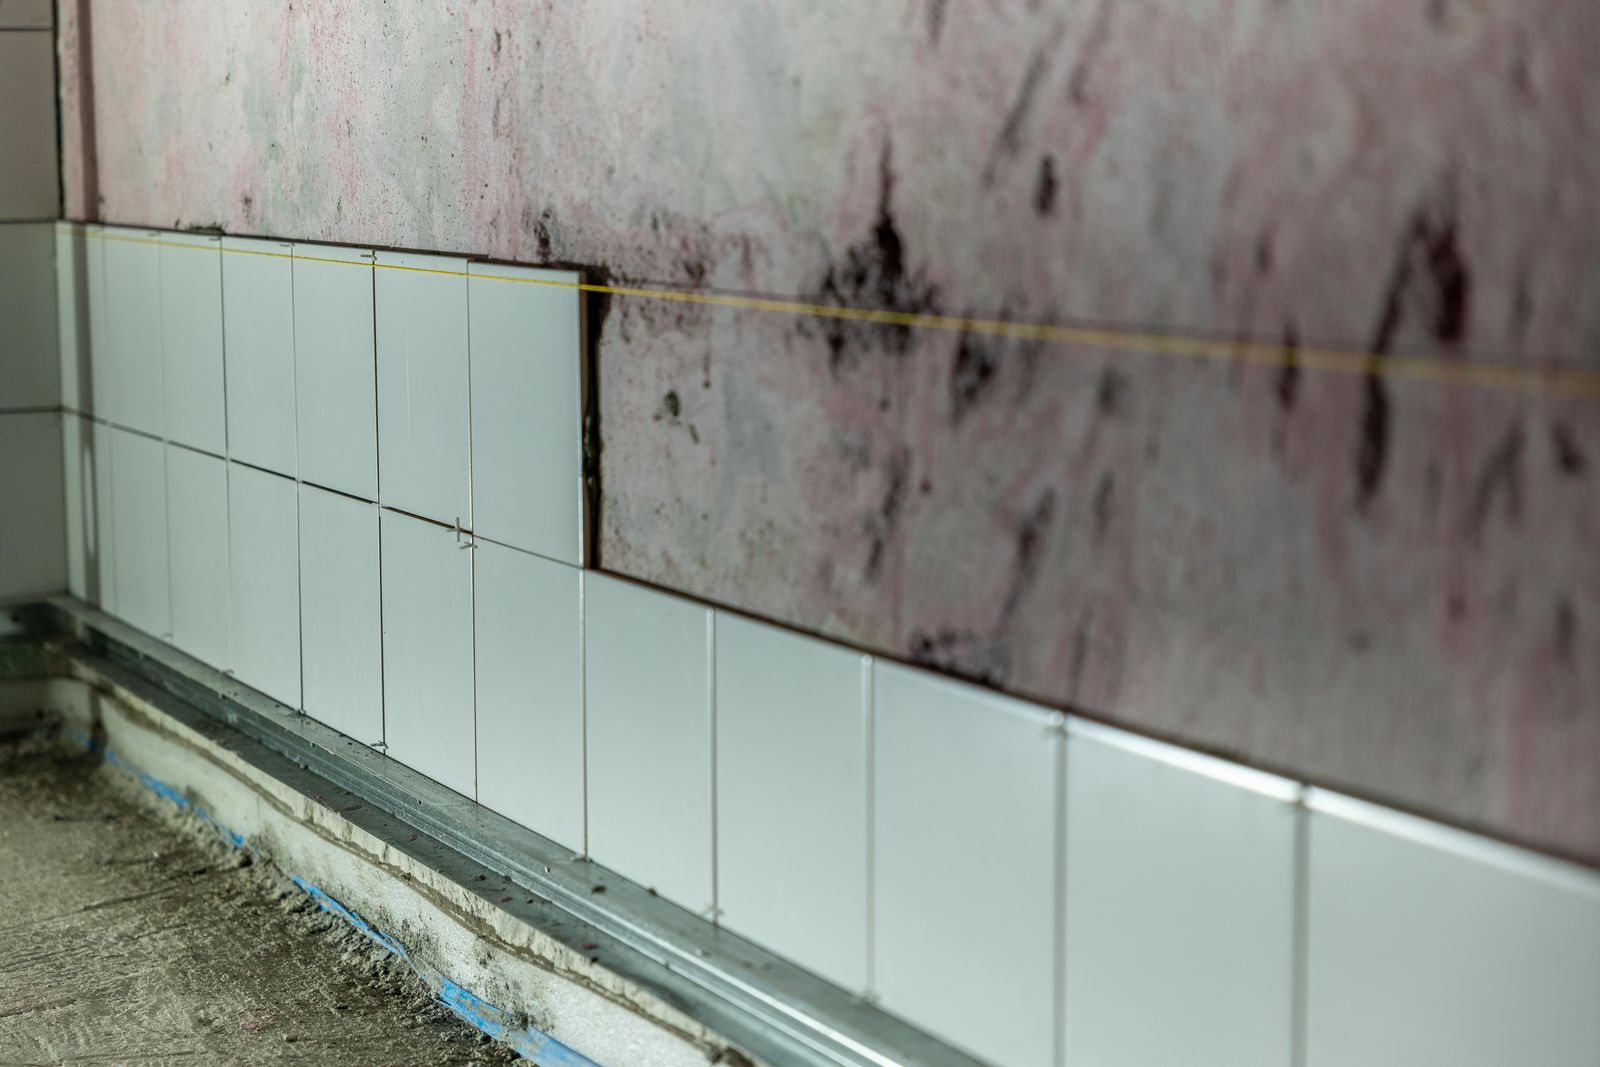
The part that keeps the water in is the part nobody photographs.

Meridian Bath & Tile designs and builds bathrooms, and nothing else. Every shower is set out on a drawing before a box of tile is ordered, and flood tested for twenty-four hours before a tile goes down.

4.9 from 214 verified reviews · Bathrooms only, since 2011

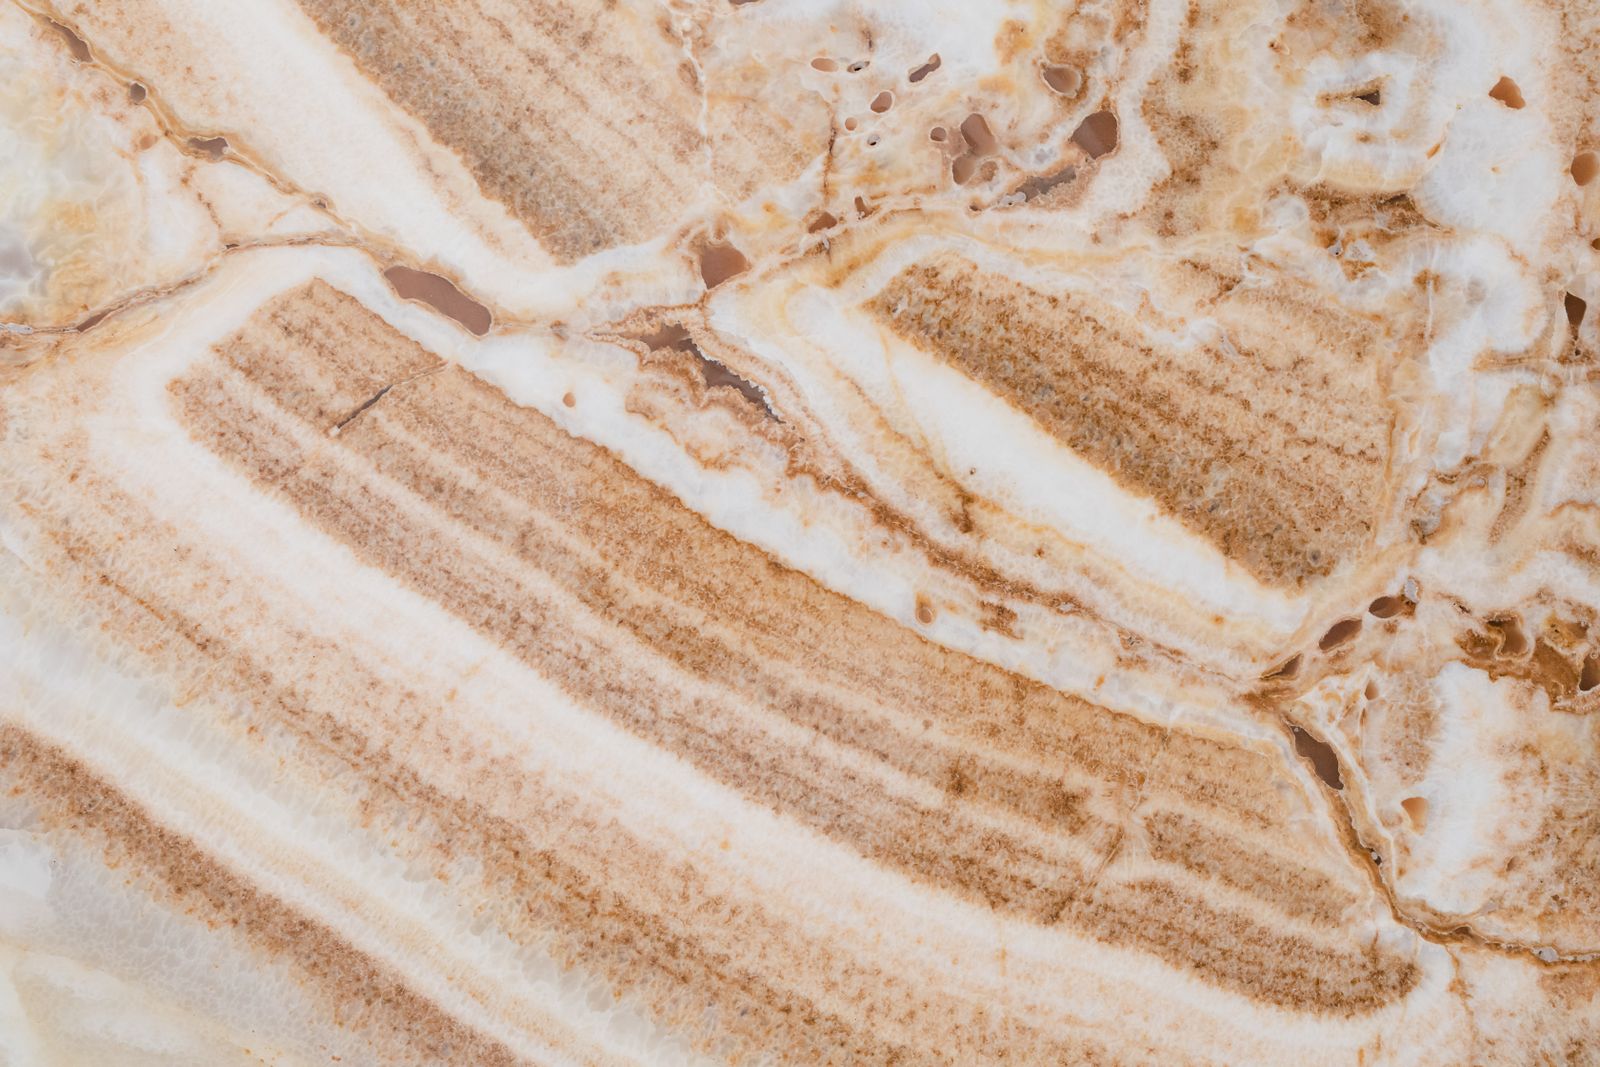
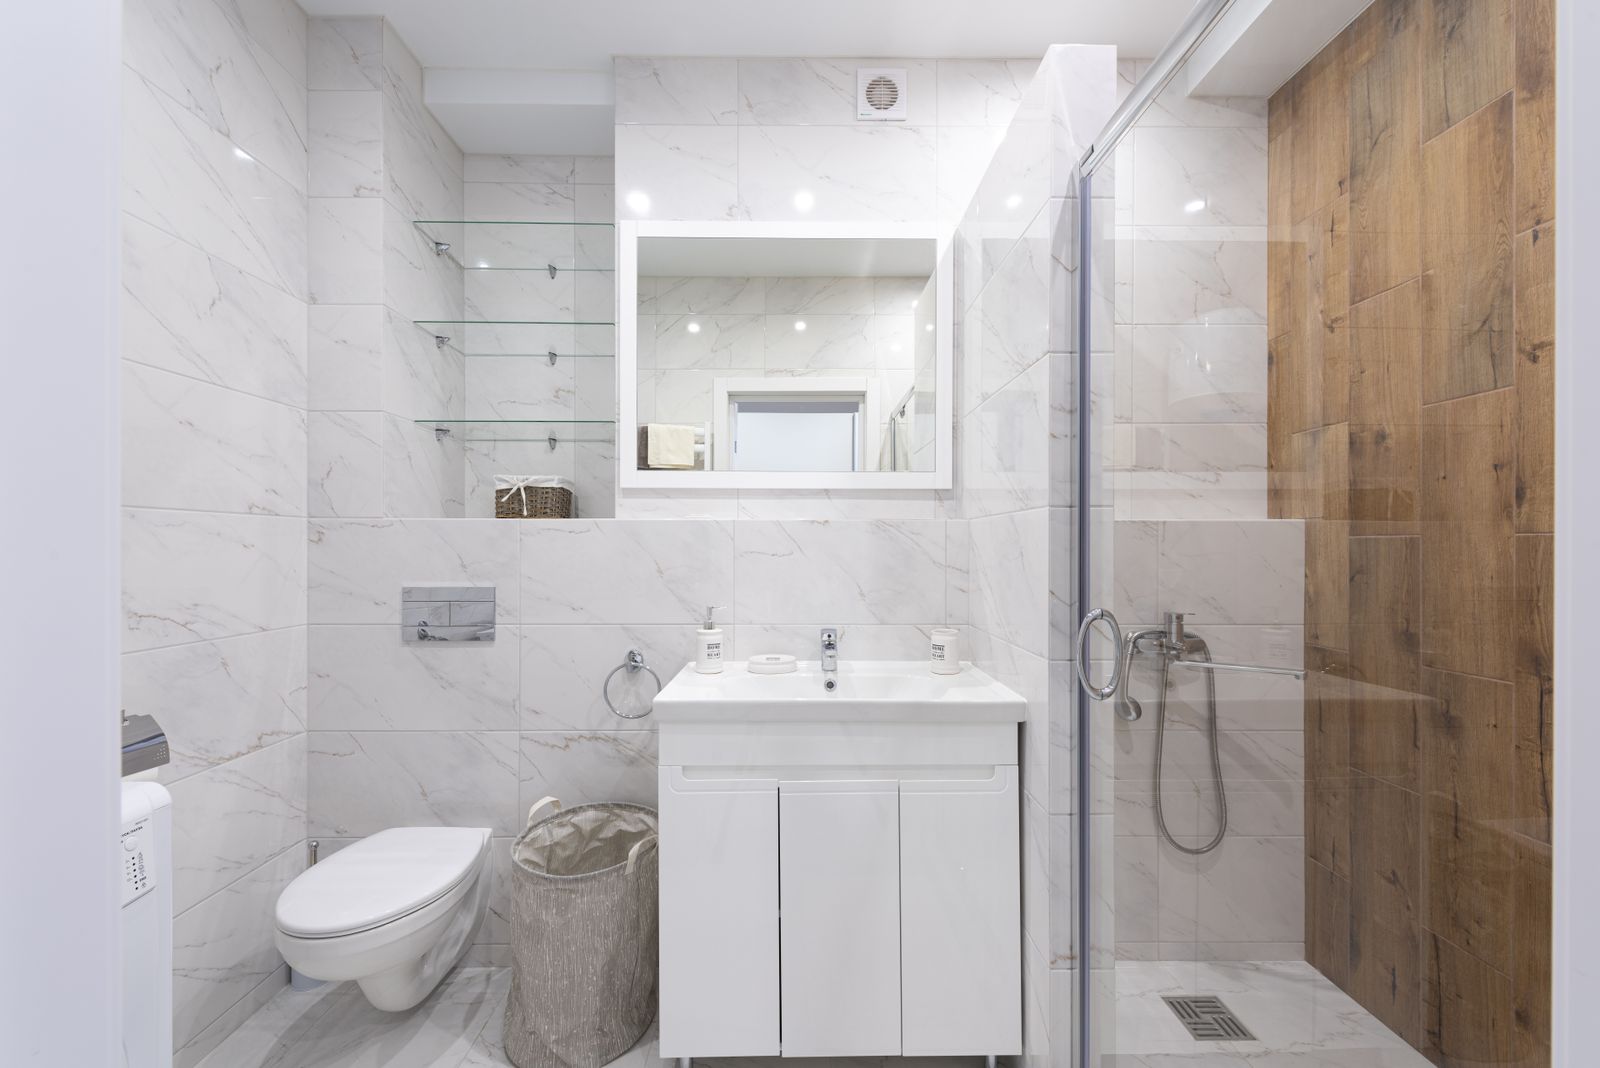
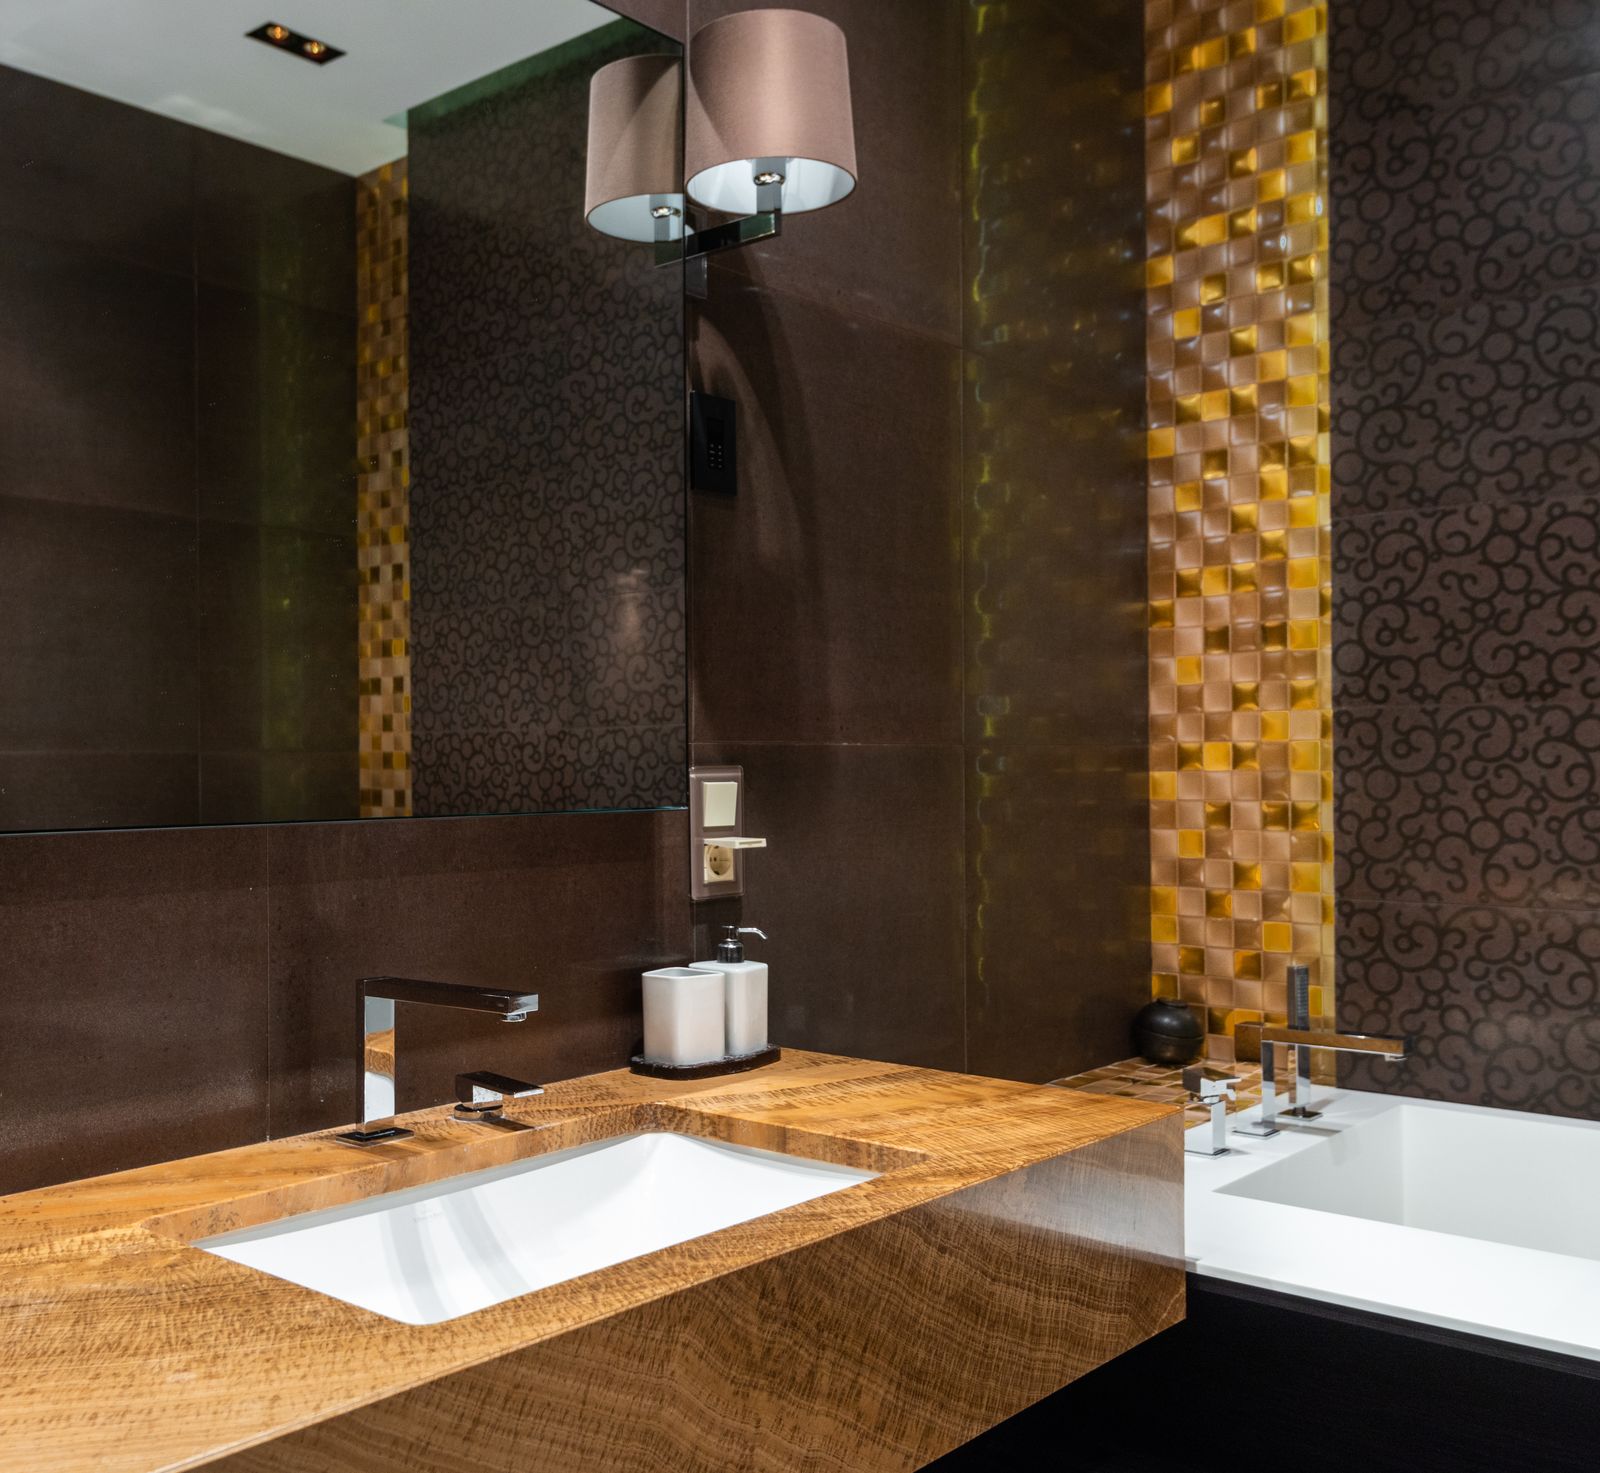
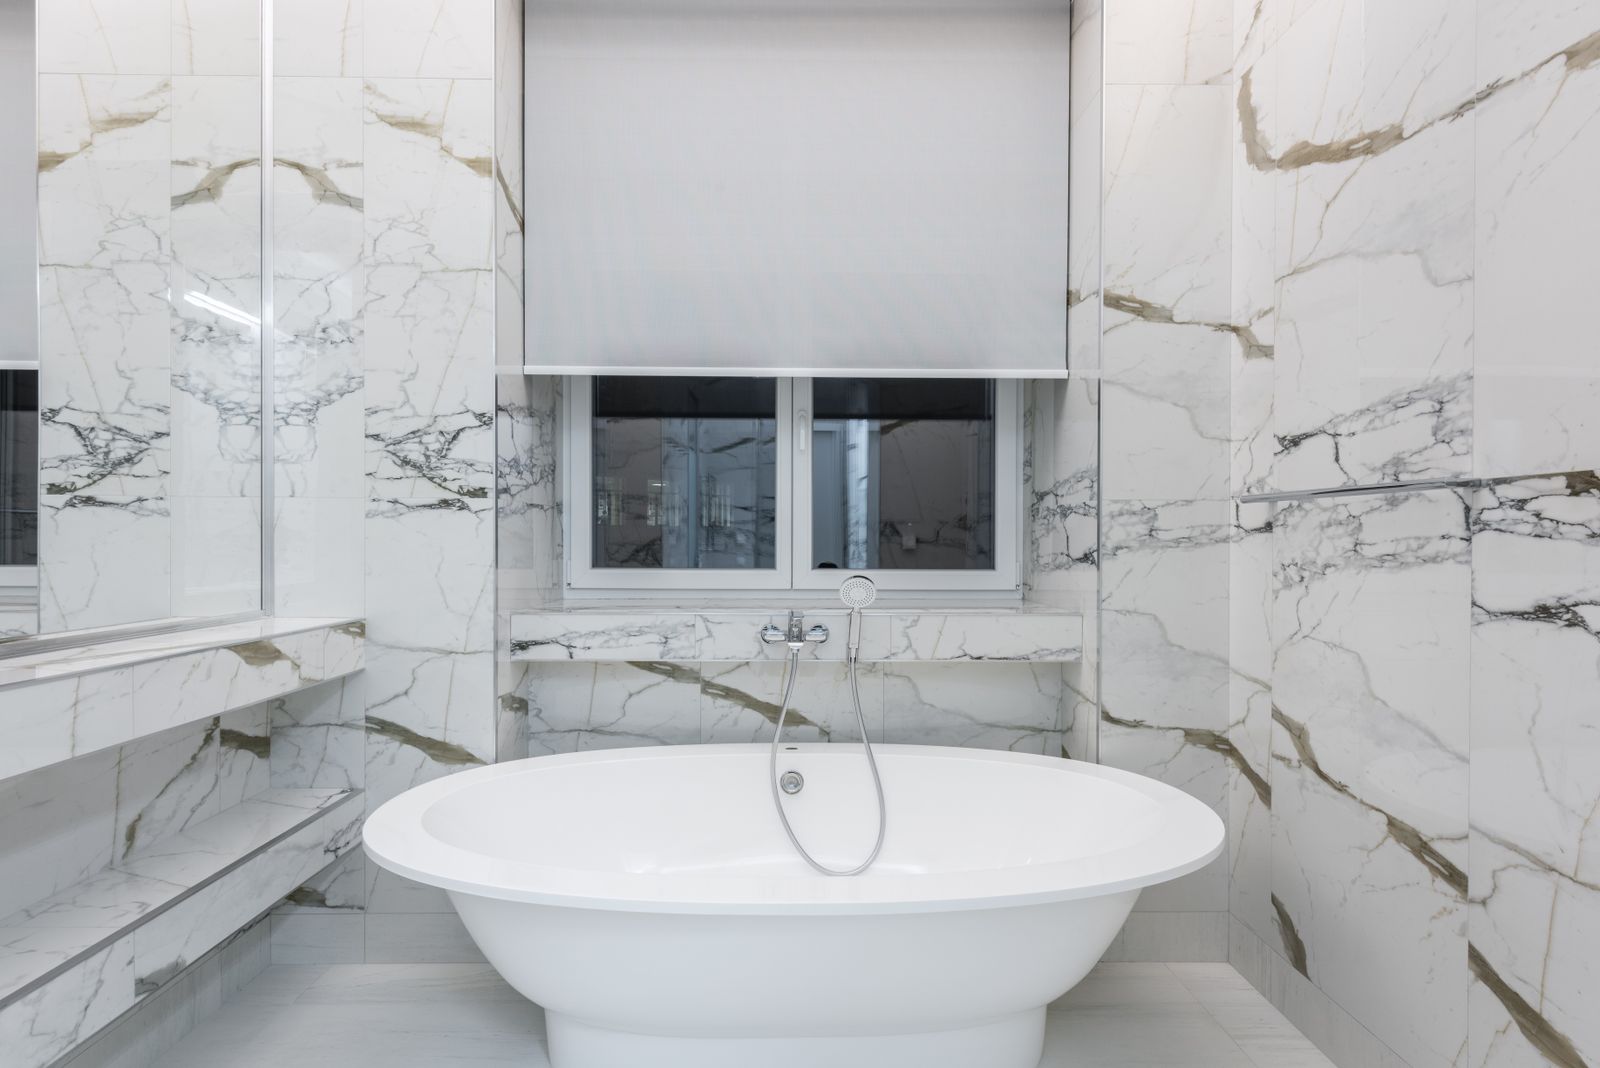
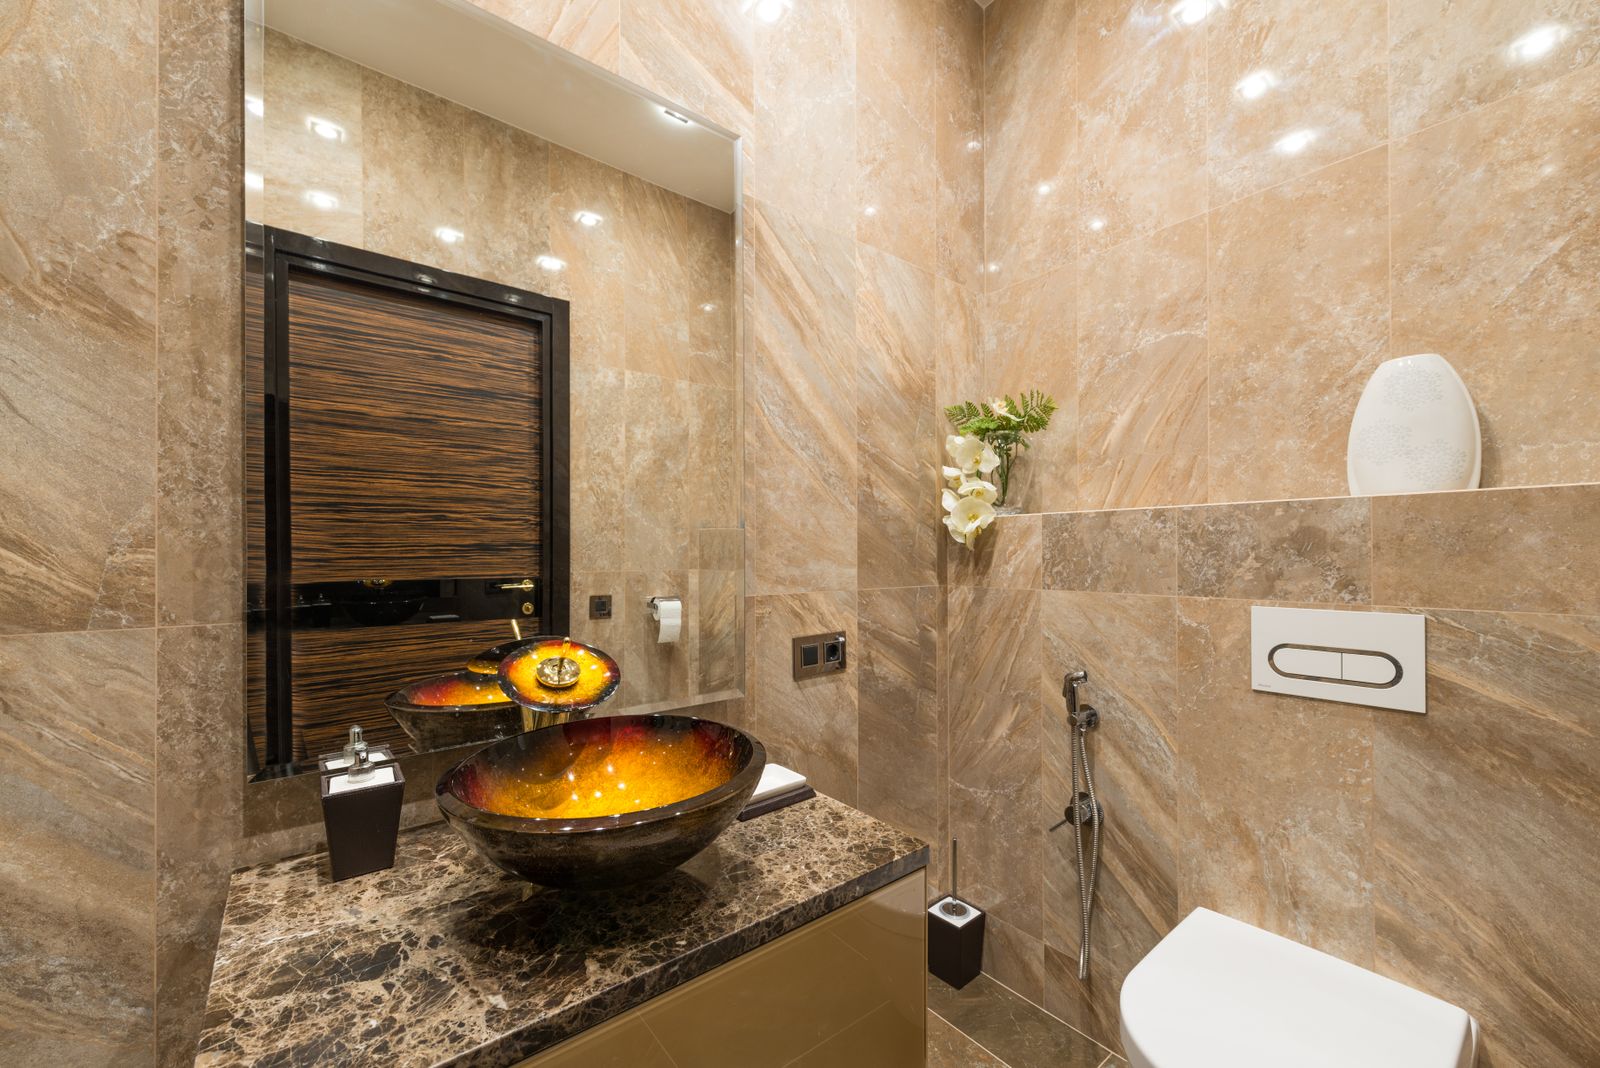
Calacatta ensuite, Cherry Creek. A Meridian Bath & Tile bathroom in Denver.
Calacatta ensuite, Cherry Creek
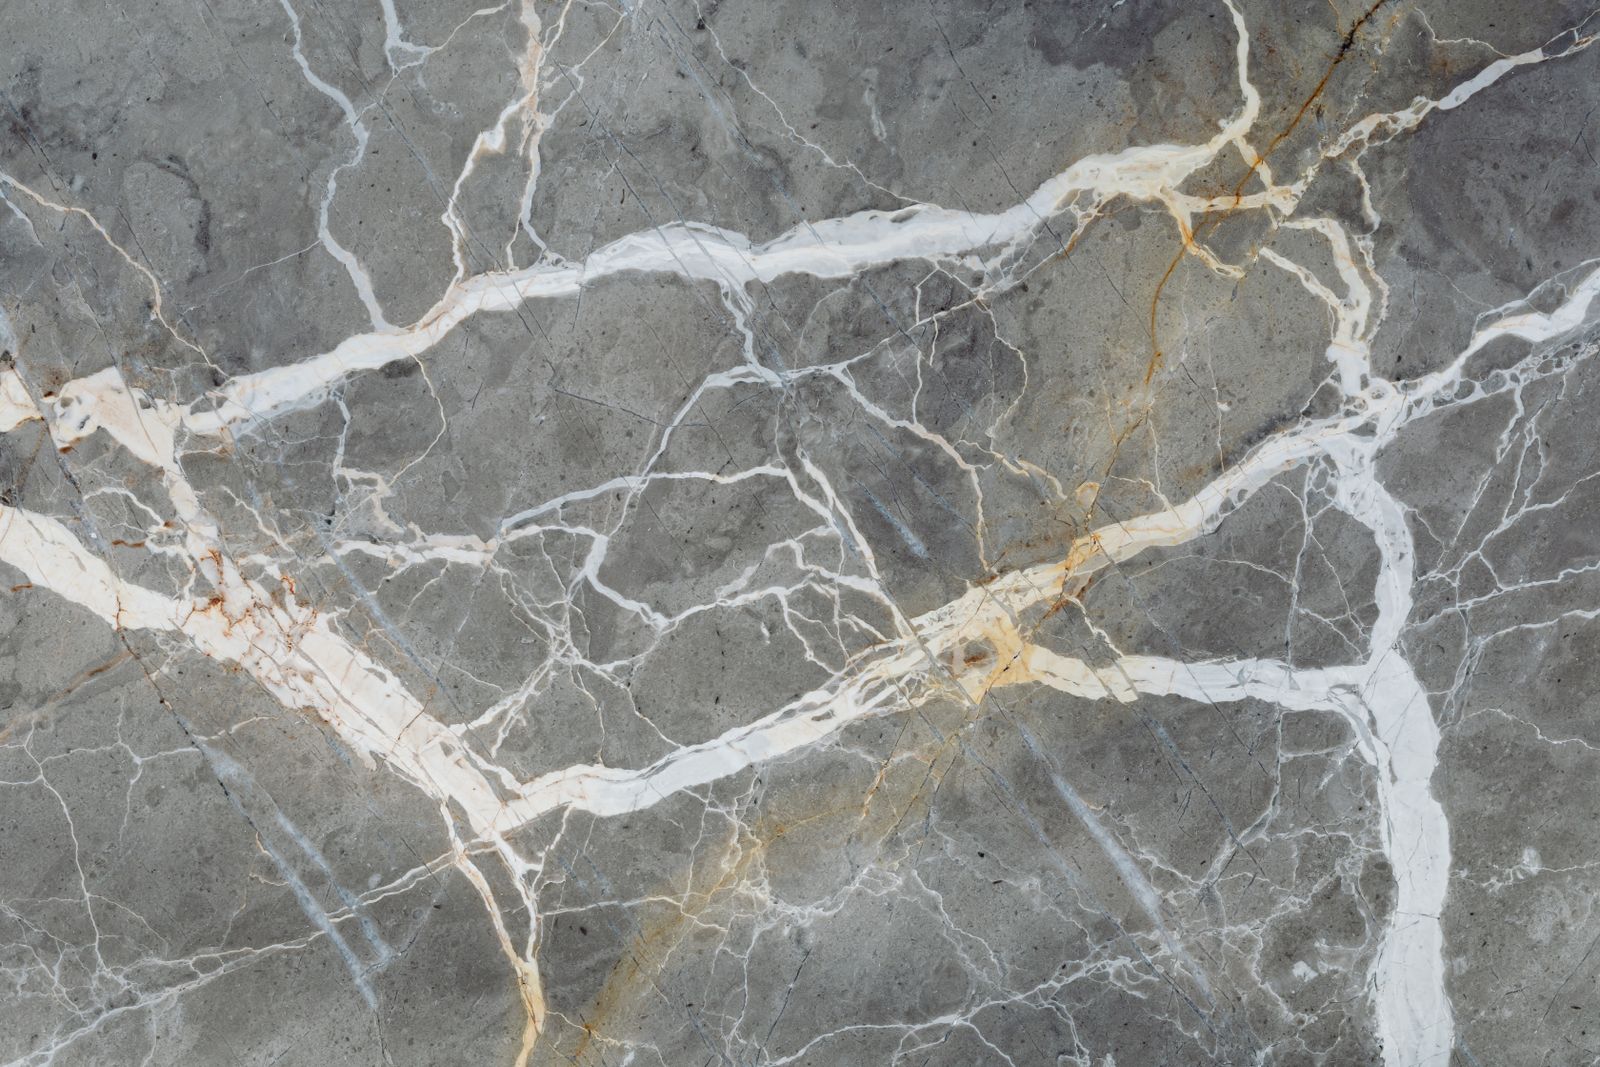
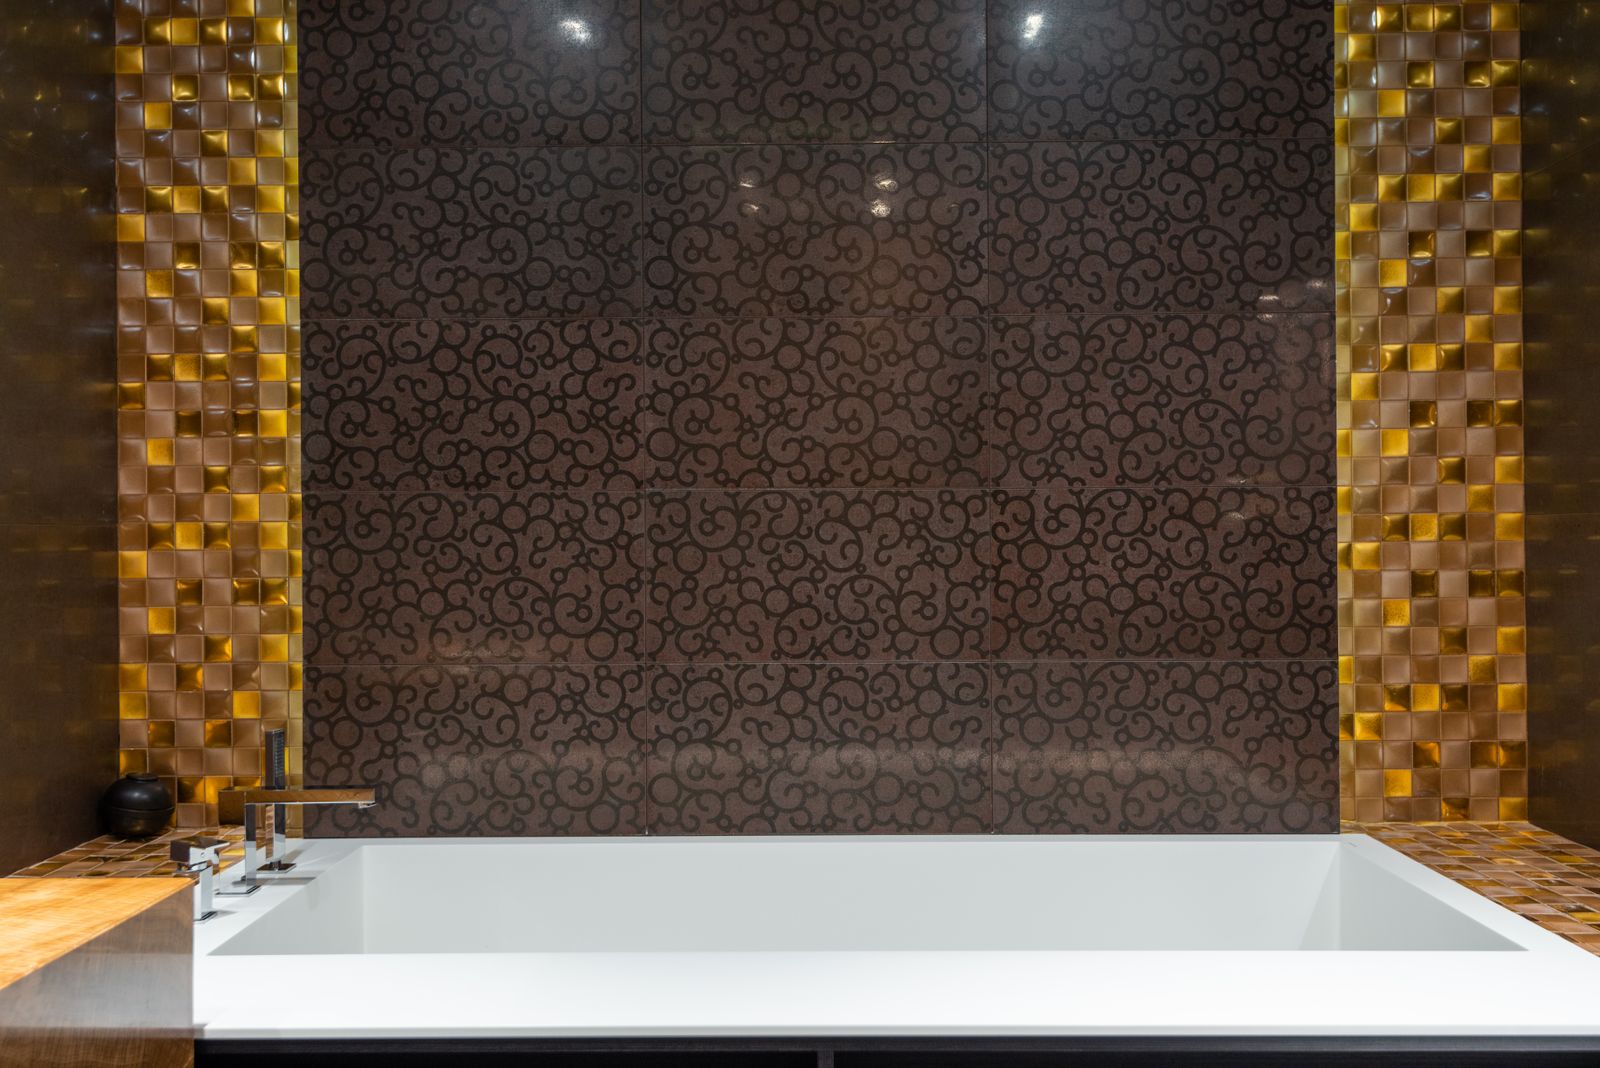
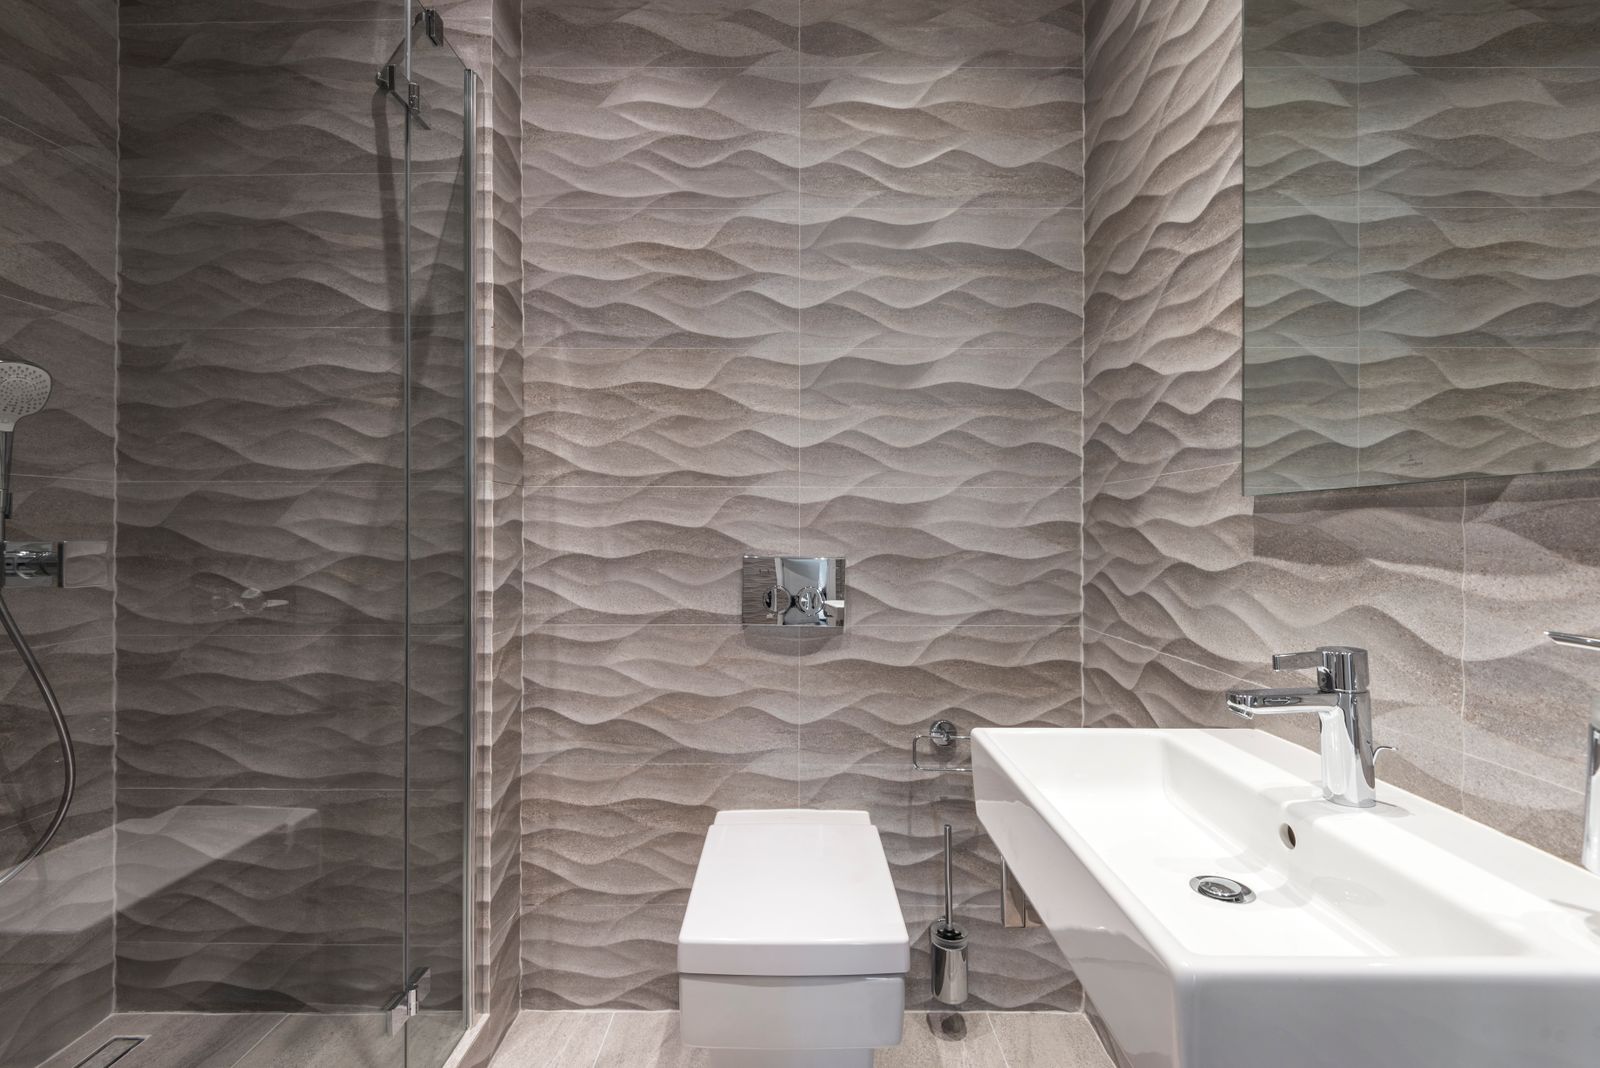
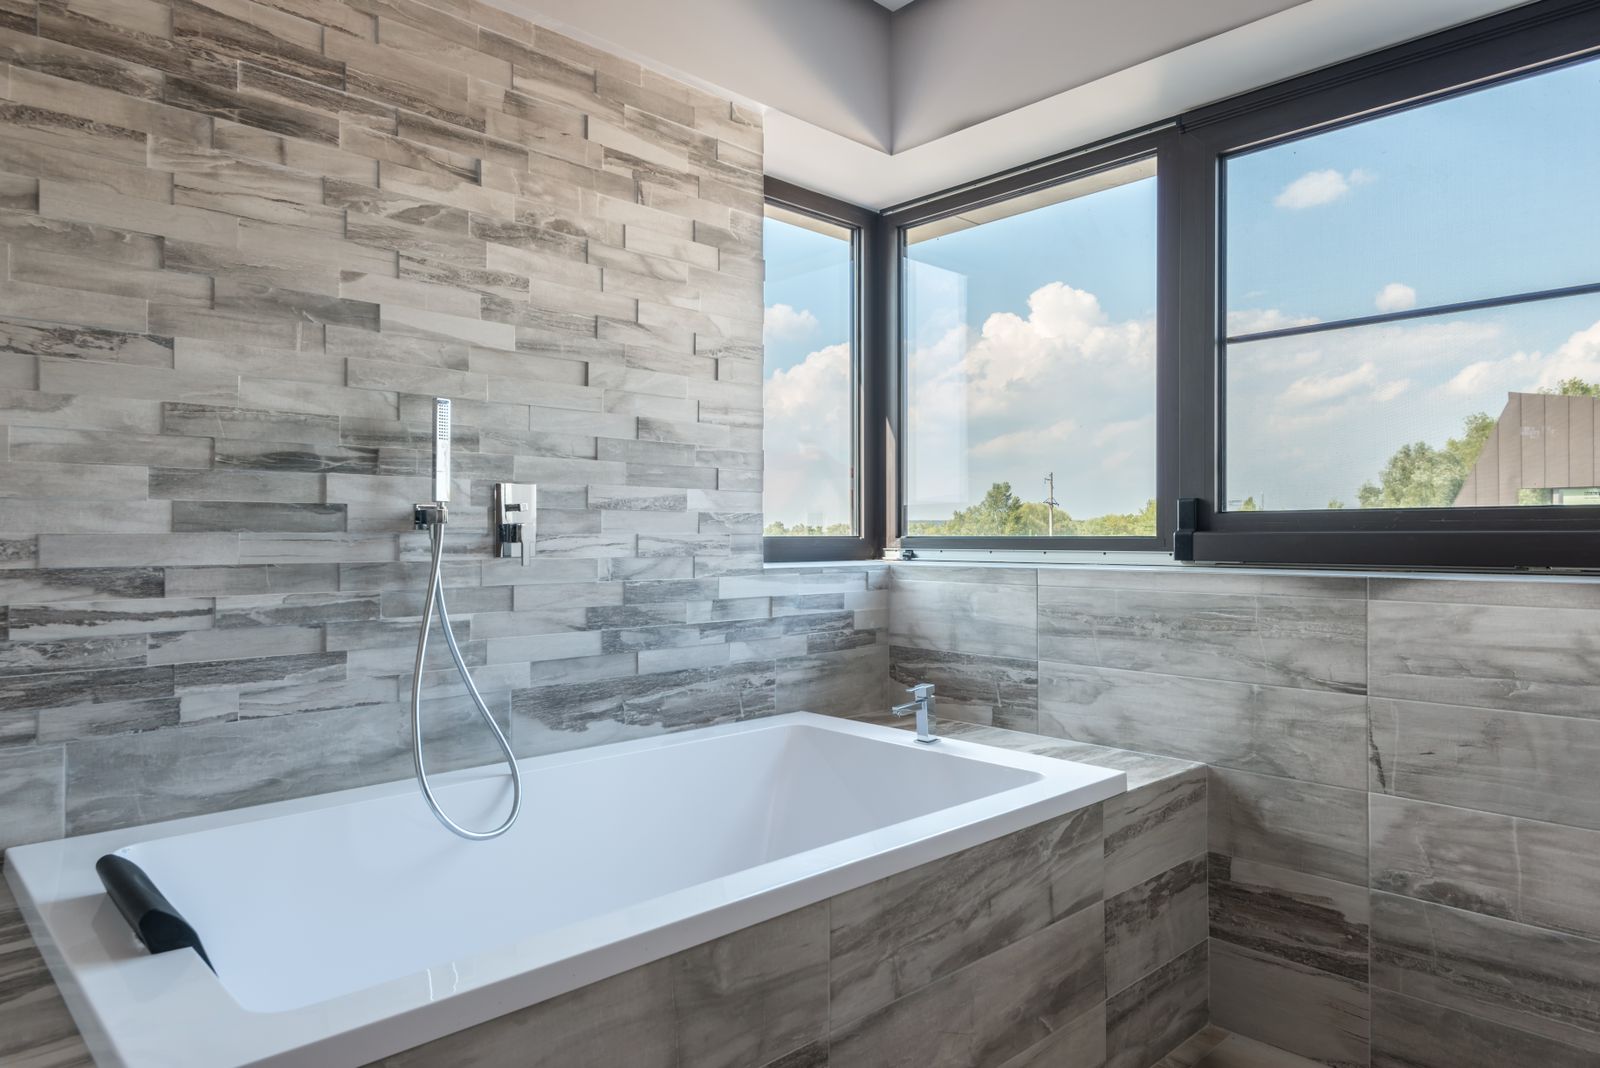
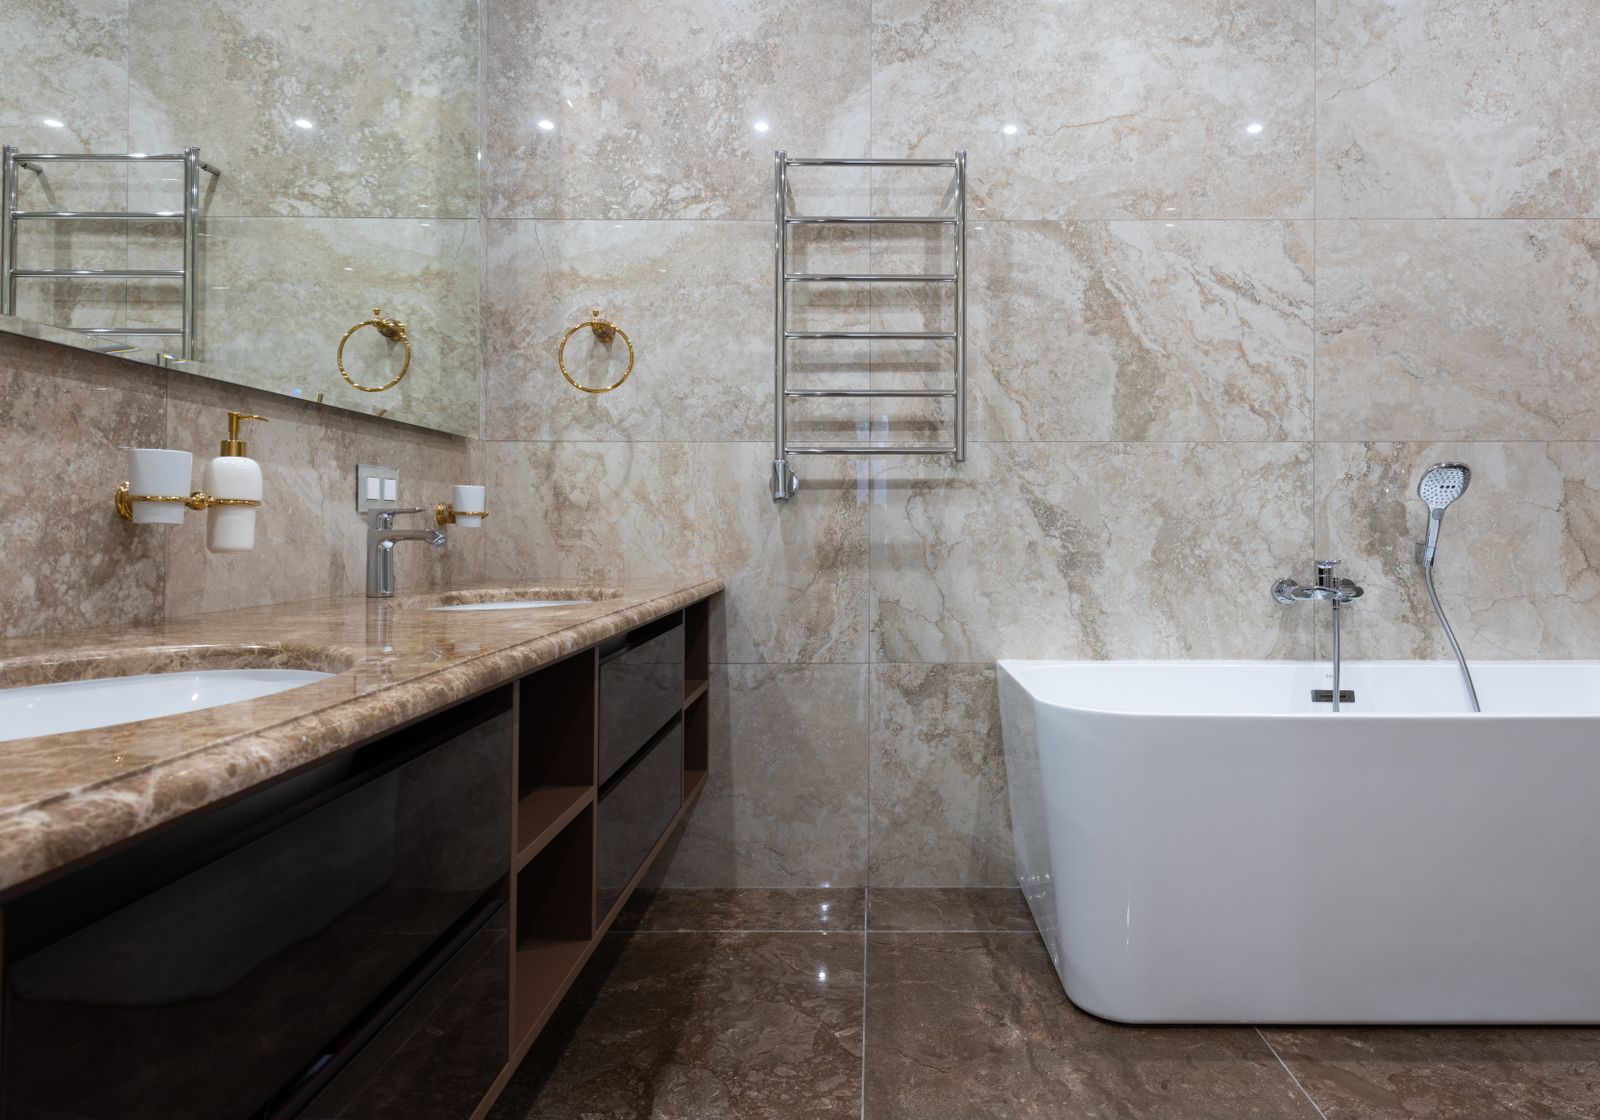
Vertical stack wall, Washington Park. A Meridian Bath & Tile bathroom in Denver.
Vertical stack wall, Washington Park
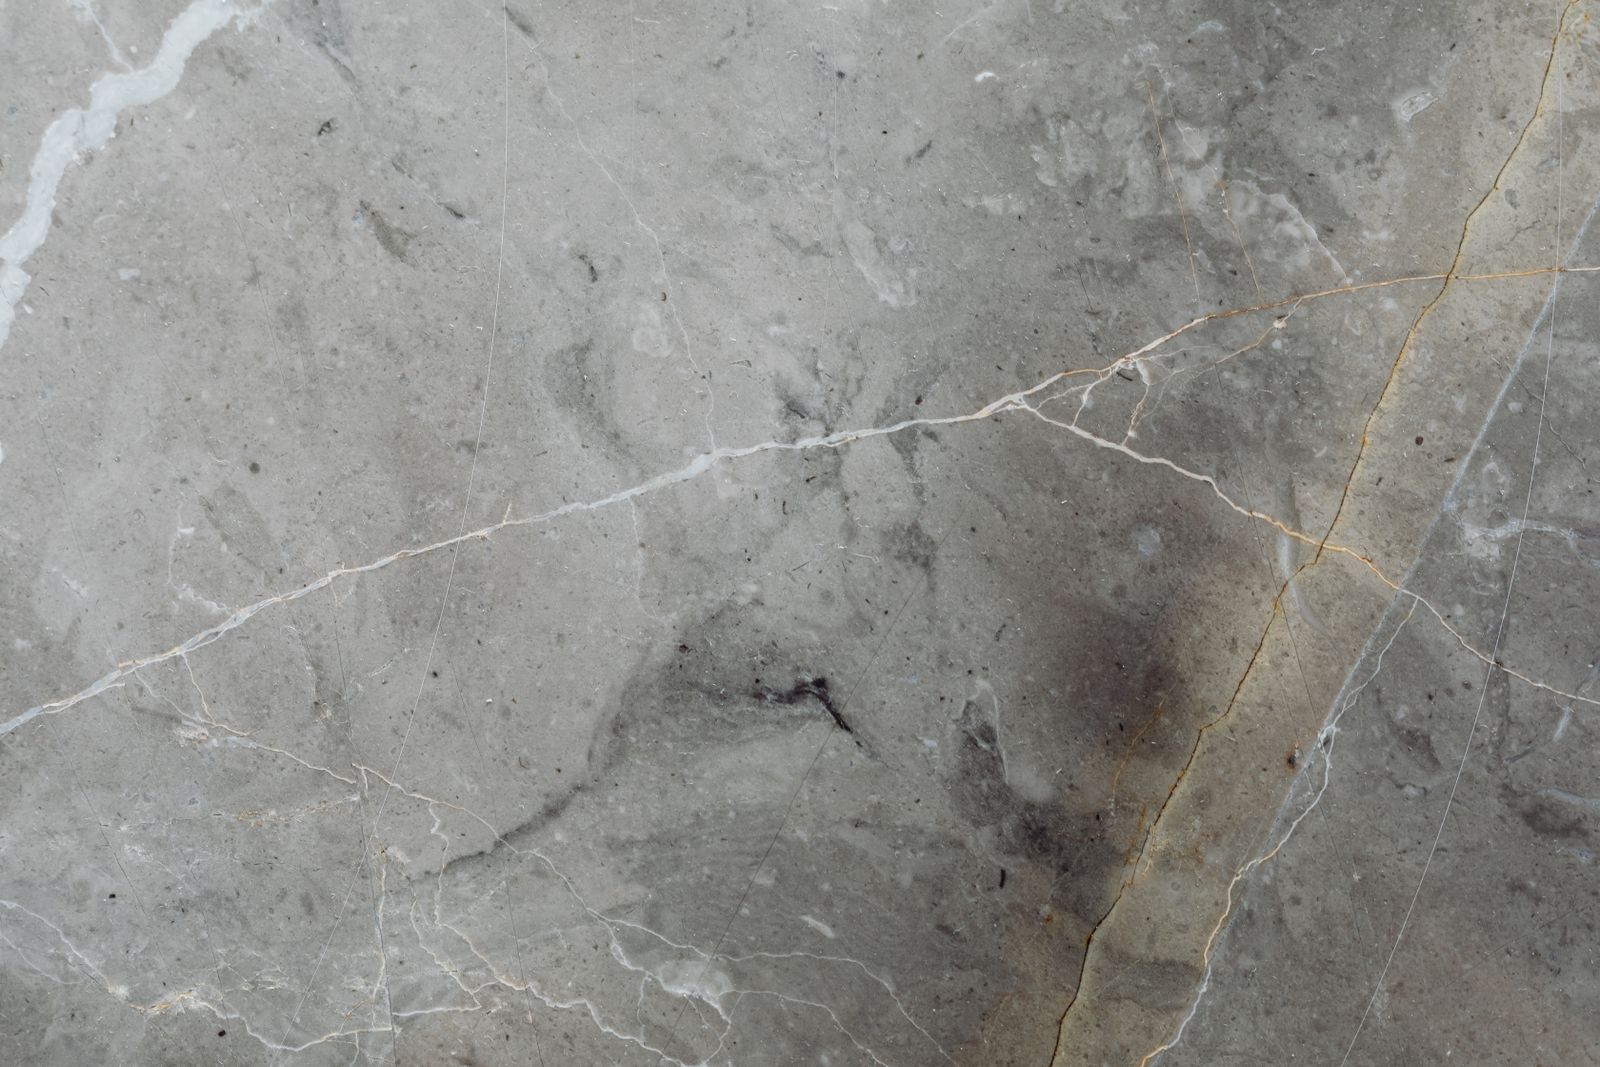
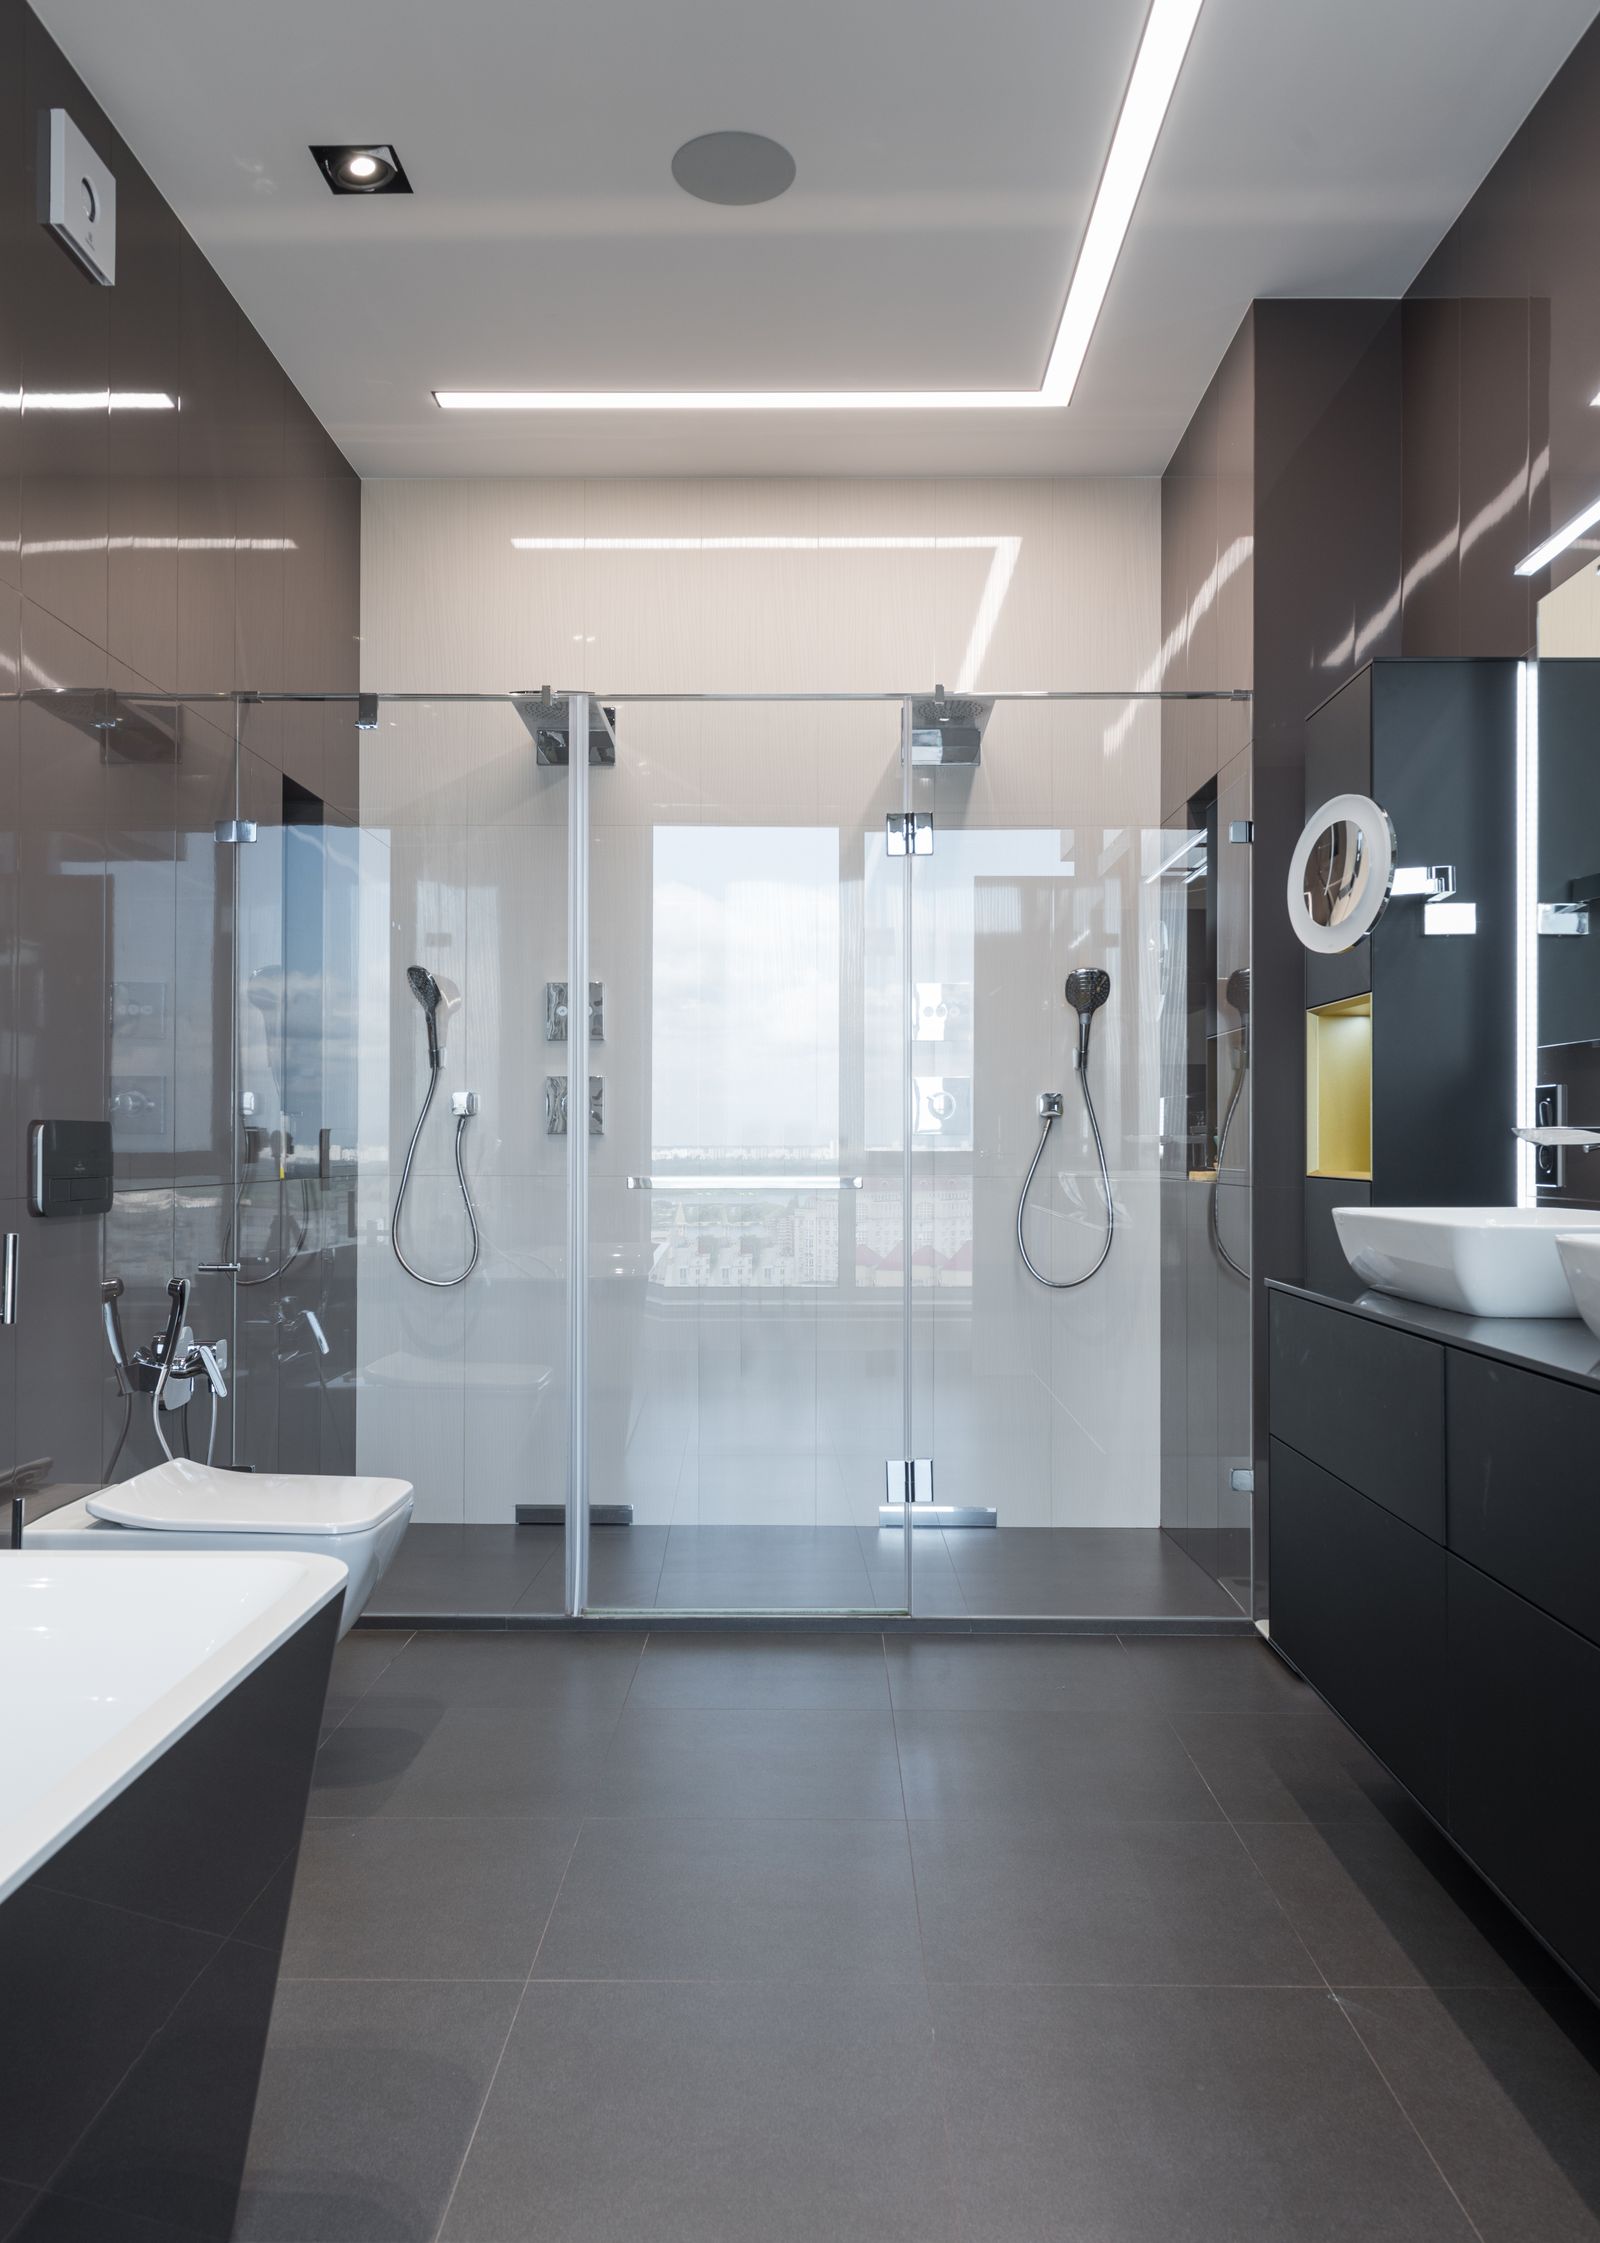
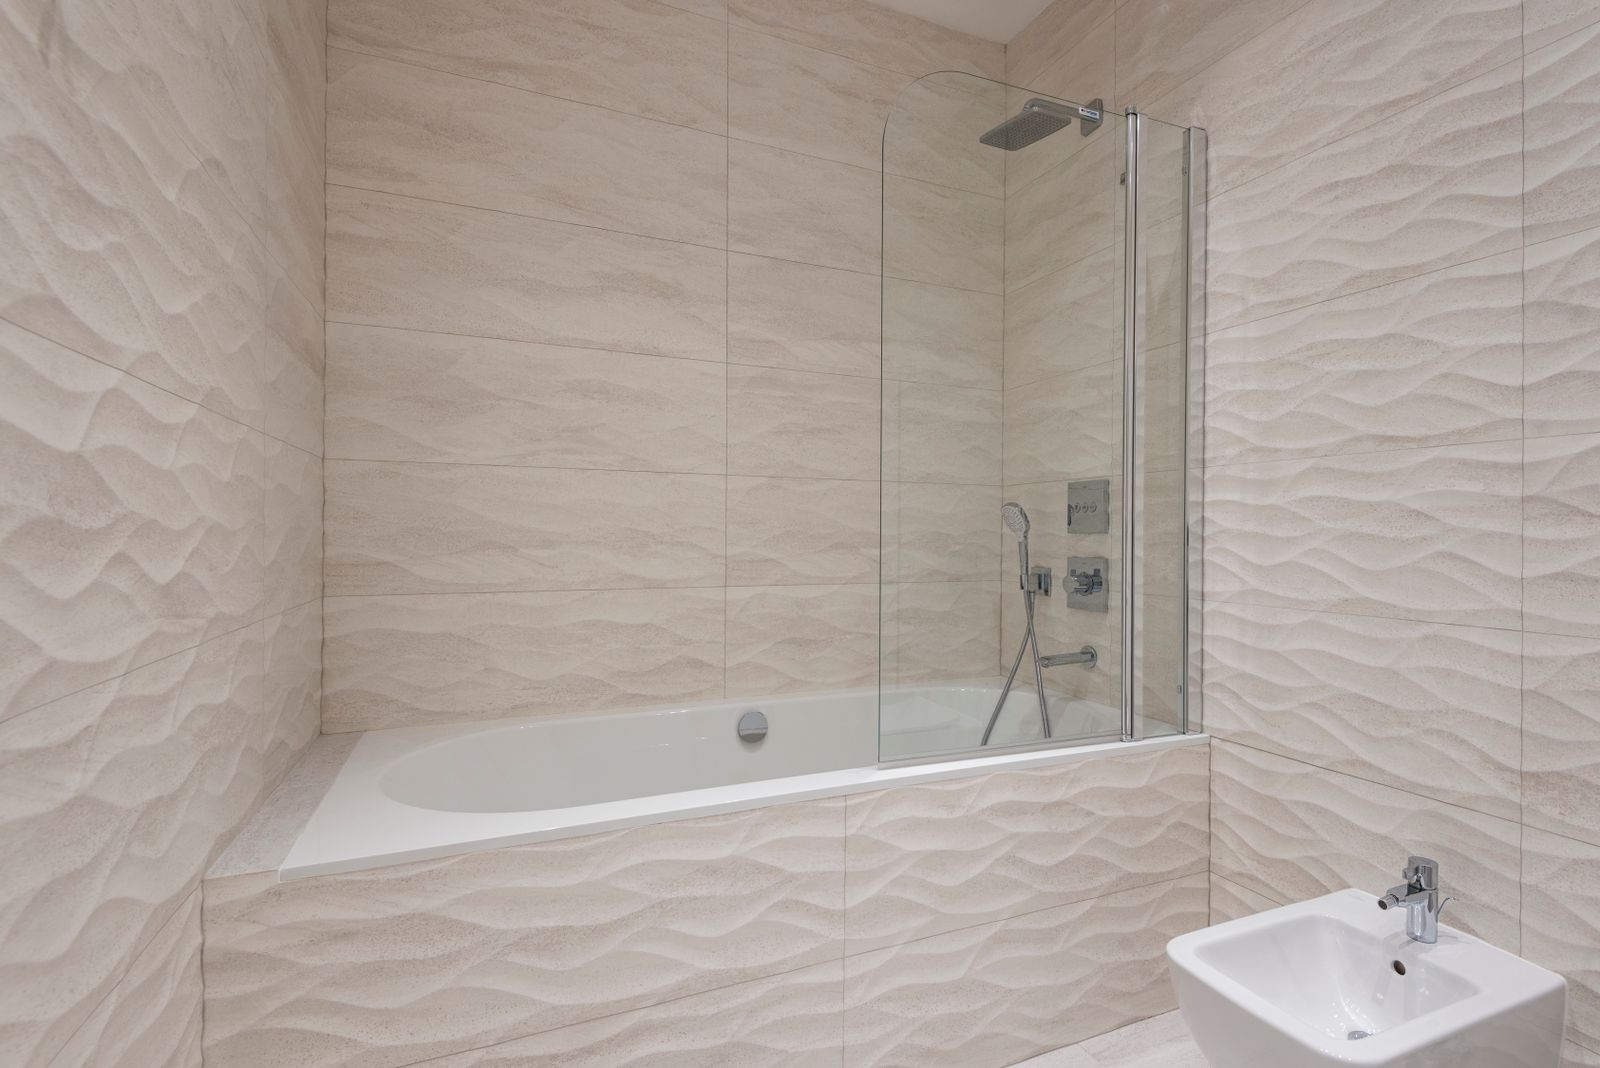
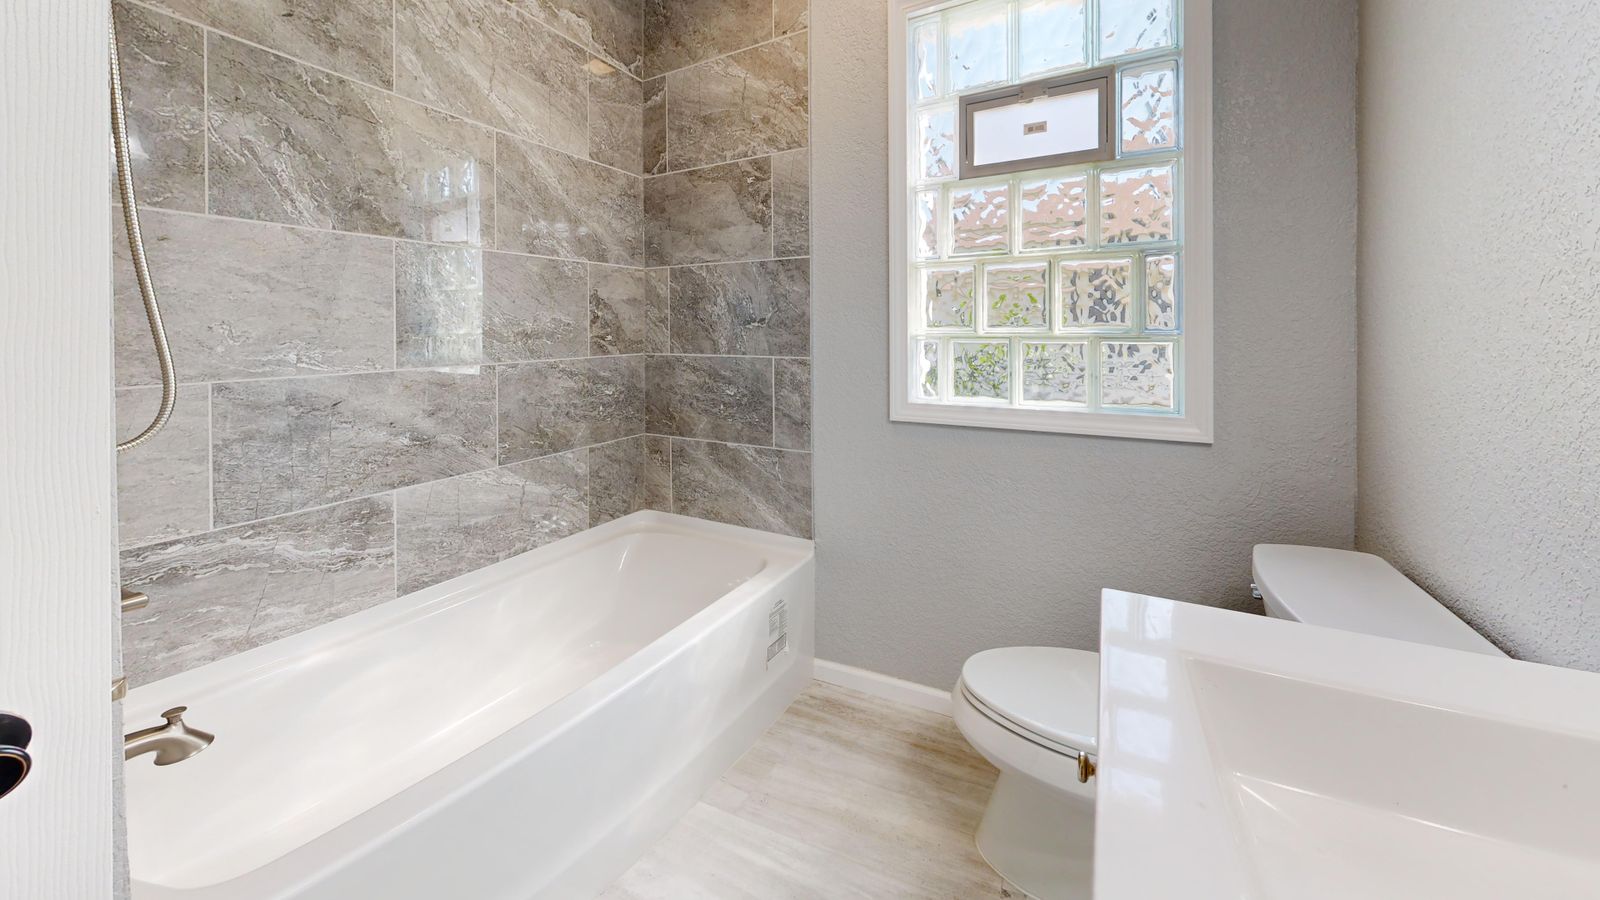
Shared wet zone, single membrane. A Meridian Bath & Tile bathroom in Denver.
Shared wet zone, single membrane
  • ANSI A118.10 bonded membrane, every wet zone
  • 24 hour flood test, photographed
  • 1:20 setting-out drawing before ordering
  • 214 verified reviews (sample)

Trade certifications and licensing

  • CTEF Certified Tile InstallerTwo setters certified, #0000 and #0000 (sample)
  • Colorado licensed and insuredLic. #GC-000000 · $2M general liability (sample)
  • Schluter and Laticrete trainedSystem-certified for both waterproofing families
  • NKBA member studioNational Kitchen & Bath Association, Rocky Mountain chapter
  • EPA Lead-Safe certified firmRequired on Denver housing stock built before 1978
  • Flood-tested, every shower24 hours, photographed at fill and at drain
Setting out, before anything is ordered

Ten layouts we set, and what each one costs you

Choosing a tile is the easy half. The layout decides the waste factor, the labour, the joint width and whether a plank tile will sit flat. Every diagram here is drawn from the geometry we actually set out with.

Scroll for all ten layouts

Stack bondAlso called straight set, grid

Every joint lines up in both directions. The most graphic and the least forgiving.

Stack bond reads as a drawn grid, so it flatters large-format porcelain and wall panels where the tile itself is the interest. Because every joint is continuous, any bow in the substrate or variation in tile size shows up immediately along a 3 metre line. We flatten walls to within 3 mm over 3 m before a stack-bond wall is set, and we order from a single caliber and shade lot.

Best for Large-format wall fields, shower back walls, contemporary rooms

Watch out Substrate flatness and tile caliber. Nothing hides here.

Typical tile size
12" x 24" to 24" x 48" (300 x 600 to 600 x 1200 mm)
Row offset
0%
Joint width
1/16" to 1/8" (1.5 to 3 mm)
Order waste factor
8 to 10%
Setting labour
1.0x

Labour index is relative to a straight stack bond at 1.0. Waste factors assume a rectangular room and one shade lot. Both are working figures from our own jobs and are sample values on this demonstration site.

Two projects we are asked for most

A shower you step into, not over. A Meridian Bath & Tile project in Denver.
The request we get most

A shower you step into, not over

A level entry means the pan drops an inch and a half into the floor structure, which depends entirely on which way your joists run and how deep they are. We answer that on the survey with the floor open where we can, then choose the drain to suit the tile you want, because a linear drain lets the whole floor fall in one plane and a point drain does not.

  • Joist direction and depth checked before anything is promised
  • Linear drain for large format, point drain for mosaic
  • Wet DCOF of 0.42 minimum on every shower floor we set
Walk-in showers
The tub nobody uses, gone in eleven days. A Meridian Bath & Tile project in Denver.
The one with a fixed number of days

The tub nobody uses, gone in eleven days

A standard sixty by thirty alcove is almost exactly the right footprint for a generous single shower, and because the drain, the valve and the walls are already there the work stays inside a predictable programme. What does not change is the build: everything out to the framing, a bonded membrane, and the same twenty-four hour flood test as a fifty thousand dollar ensuite.

  • Median eleven working days on site (sample figure)
  • Old surround and substrate out to the framing, never tiled over
  • Blocking fitted for a grab bar and a slide rail while the wall is open
Tub-to-shower conversion
What is behind your tile

Six layers, and only one of them is waterproof

Cement board is a substrate, not a barrier. The layer that actually keeps water inside the room is a bonded membrane applied over it, banded at every corner, and gauged as it goes on. Here is the assembly we build in every wet zone, from the framing out.

123456room side at the top
Wall assembly, framing at the base to grout at the face. Not to scale.
  1. Framing

    2x6 studs at 16" o.c., blocking at every grab-bar and niche location

    5-1/2" (140 mm)

    We block for grab bars in every shower, whether or not one is being fitted now. Blocking costs nothing today and a torn-out wall later.

  2. Backer board

    1/2" cement or foam backer board, ANSI A118.9, screws at 8" o.c.

    1/2" (12.7 mm)

    Never gypsum board in the wet zone, including behind a tub surround. Joints are taped with alkali-resistant mesh and filled with thinset, not drywall compound.

  3. Bonded waterproof membrane

    ANSI A118.10 liquid or sheet membrane, corners and changes of plane banded

    20 to 25 mil liquid, or 0.008" sheet

    This is the layer that actually keeps water in the room. Liquid membranes are checked with a wet-film gauge as they go on, because 12 mil of a 20 mil product is not waterproof.

  4. Thinset mortar

    ANSI A118.15 improved modified thinset, notch sized to the tile

    3/32" to 1/4" after collapse

    Wet-zone coverage must reach 95%. We pull a tile at least once per wall and photograph the back of it for the file.

  5. Tile

    Porcelain, ceramic or sealed natural stone, set to the agreed pattern

    1/4" to 1/2" (6 to 12 mm)

    The visible layer, and the last thing that keeps water out rather than the first.

  6. Grout and sealant

    Grout to the joint; 100% silicone at every change of plane

    Joint width, typically 1.5 to 5 mm

    Inside corners, the tile-to-pan joint and the tile-to-tub joint are silicone, never grout. Grout is rigid and will crack where two planes move against each other.

And the floor, in order

  1. Subfloor deflection checked to L/360 for ceramic, L/720 for natural stone

  2. Pre-slope formed at 1/4" per foot (2%) to the drain before any membrane

  3. Bonded or clamped membrane, drain flange bedded and clamped with the weep holes clear

  4. 24 hour flood test to 1 inch over the flange, photographed at fill and at 24 hours

  5. Uncoupling membrane or heat mat set into thinset over the tested assembly

  6. Tile set, joints grouted, perimeter and drain joints sealed with silicone

The joint is a material choice too

Stone and grout, paired

Grout is between four and eight percent of a tiled surface and it decides how the whole thing reads. Six pairings we specify most, with the joint width, the grout chemistry, the sealer and the cleaner that goes with each.

Templated on finished tile, never before it

Six ways glass meets a tiled wall

Glass is cut to a tenth of an inch and tiled walls are never perfectly plumb, which is why every panel we fit is templated on the finished surface and arrives about a week later. These are the six configurations we specify, in plan.

A frameless glass shower enclosure set against a tiled wall.
  • tiled wall glass

    Inline panel and door

    Fixed panel plus a hinged door in one straight run along the tub or alcove face

    Glass
    3/8" (10 mm) low-iron tempered
    Opening
    Door leaf 24" to 30" (610 to 760 mm)
    Hardware
    Wall-mount hinges on the tile side, 6" ladder pull, no bottom track
    Tolerance
    Walls plumb within 1/4" over 76"; beyond that the door needs a wall jamb
    Typical
    $1,850 to $2,900 (sample)

    The workhorse. Because there is no bottom track the floor tile runs under the glass uninterrupted, so the pattern is not broken at the threshold. We set a 3/16 inch gap under the door leaf for make-up air.

  • tiled wall glass

    Fixed panel with return

    An L: one long fixed panel with a short return wing, no door at all

    Glass
    1/2" (12 mm) tempered, self-supporting
    Opening
    Walk-in gap 24" to 32" (610 to 810 mm)
    Hardware
    U-channel at the wall and floor, glass-to-glass 135 degree clamp at the corner
    Tolerance
    Floor level within 1/8" across the panel foot, or the U-channel shims show
    Typical
    $1,400 to $2,400 (sample)

    No door means no hinge to drip and nothing to swing into a small room. It also means the shower must be big enough that spray never reaches the gap: we size the wet zone at least 36 inches from the head to the opening.

  • tiled wall glass

    Neo-angle corner

    Two fixed panels at 135 degrees with an angled door in the corner

    Glass
    3/8" (10 mm) tempered
    Opening
    Door leaf 22" to 26" (560 to 660 mm) on the diagonal
    Hardware
    Glass-to-glass 135 degree hinges, both panels clamped to tile
    Tolerance
    Both walls must be square to each other within 1 degree; we template after tile
    Typical
    $2,200 to $3,400 (sample)

    The answer when a corner shower is the only way to fit a shower and a tub in the same room. The angled door needs clear floor in front of it, so check it against the vanity door swing before the layout is signed off.

  • tiled wall glass

    Steam enclosure with transom

    Full-height panels to the ceiling with a hinged transom vent above the door

    Glass
    3/8" (10 mm) tempered, header bar to the ceiling
    Opening
    Door 24" to 28" (610 to 710 mm), transom 8" to 12" deep
    Hardware
    Full perimeter seal, transom on a friction stay, sloped header to shed condensate
    Tolerance
    Ceiling must be tiled and sloped 2 degrees to the drain wall before templating
    Typical
    $3,600 to $5,800 (sample)

    A steam room is a sealed box, which is why the transom exists: it is how you vent the room after a session without opening the door onto a cold bathroom. The ceiling is tiled and sloped so condensate runs to a wall rather than dripping on a head.

  • tiled wall glass

    Sliding bypass on a top track

    Two panels bypassing on a single header track over a tub or a wide alcove

    Glass
    3/8" (10 mm) tempered on a stainless header
    Opening
    Clear opening is half the alcove, typically 28" to 32"
    Hardware
    Top-hung rollers, bottom guide only, soft-close stops at both ends
    Tolerance
    Header must be level within 1/16" over its length or the panels creep
    Typical
    $1,900 to $3,100 (sample)

    For a tub alcove where a hinged door would swing into the vanity. Top-hung means no bottom track to clean, which is the single most common complaint we hear about older sliding doors.

  • tiled wall glass

    Frameless pivot door

    A single wide leaf on offset pivots, no fixed panel

    Glass
    1/2" (12 mm) tempered
    Opening
    Leaf 30" to 36" (760 to 915 mm), pivot set back 1/5 of the leaf
    Hardware
    Floor and header pivot, no side hinge, magnetic strike jamb
    Tolerance
    Floor and header must be parallel within 1/8"; templated after all tile is set
    Typical
    $2,600 to $4,200 (sample)

    A pivot leaf can be wider than a hinged door because the weight is carried top and bottom rather than on the tiled wall. It suits a wet room where the opening is the whole face of the shower.

The measured-drawing habit

We draw the room before we cut anything

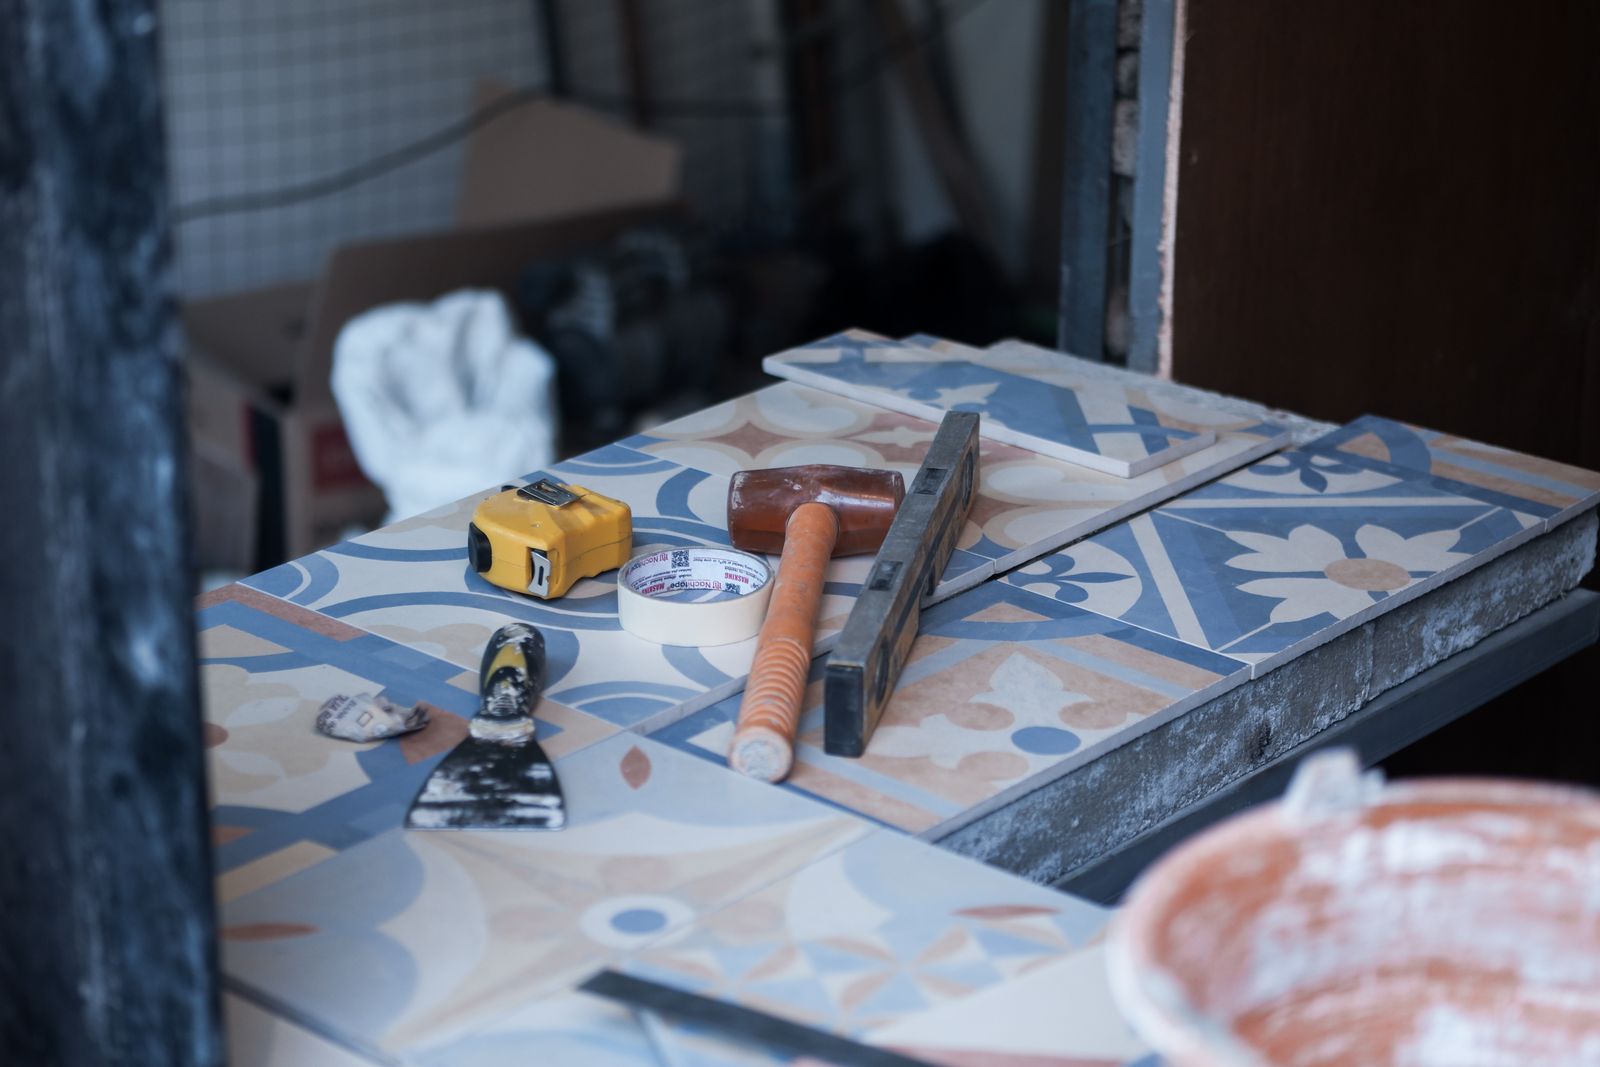
Plan, two elevations and a tile setting-out at 1:20 with every joint line on it. It tells you where the cut course lands, whether the joint above the vanity lines up with the joint beside the shower, and exactly how much tile to order. Clients tell us it is the most useful drawing of the whole project.

It is also why our waste factors are honest. A herringbone is fifteen percent and we say so on the quote rather than absorbing it and hoping.

The seven stages
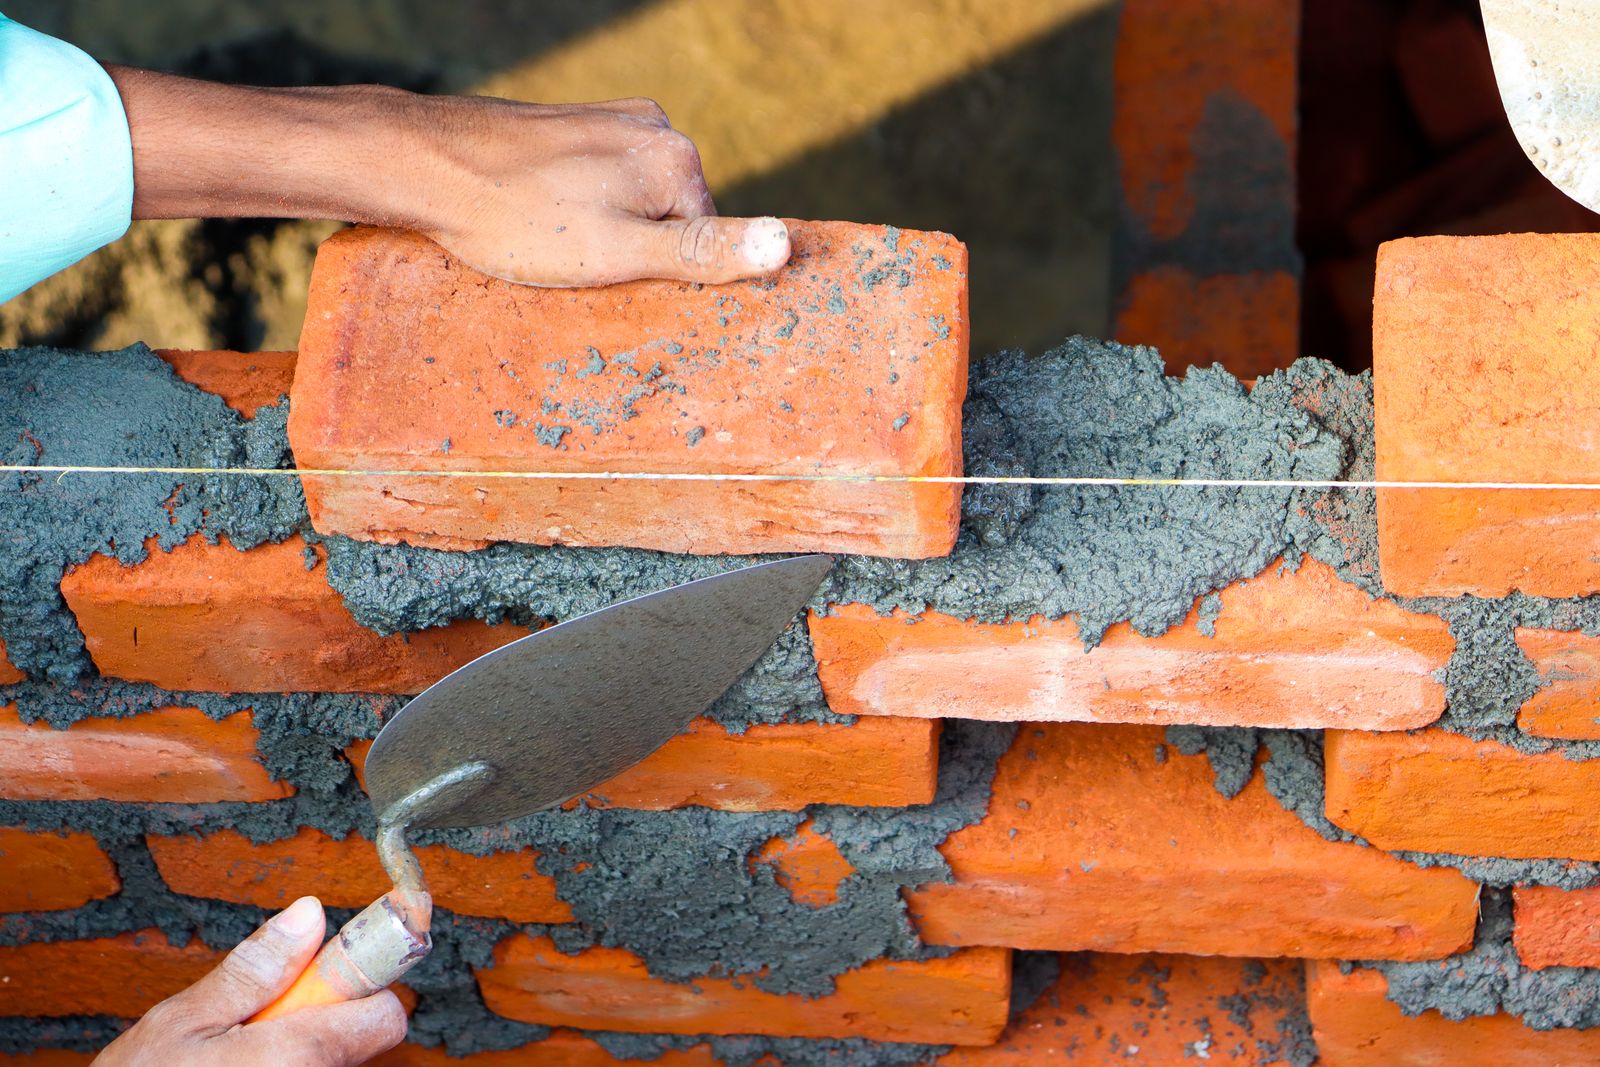
Bedding a large-format tile in medium-bed mortar
Notch sized to the tile, coverage checked by pulling one
Backer board joints taped and filled in thinset
Mosaic set to the pan slope, sheet by sheet

In every bathroom we build, without being asked

None of these appear on a competitor's quote as line items, which is usually because none of them are happening.

  • A measured drawing before anything is ordered

    Plan, two elevations and a tile setting-out drawing at 1:20, with every joint line shown. You approve it before we order a single box.

  • A bonded membrane in every wet zone

    ANSI A118.10 liquid or sheet, banded at every corner and change of plane, with a wet-film reading logged as it goes on.

  • A 24 hour flood test, photographed

    One inch of standing water over the drain flange for 24 hours, with a photograph at fill and at drain in your project file.

  • Exhaust sized to the room, not the catalogue

    We calculate CFM by area and by fixture count, take the larger, then add for duct length and elbows.

  • Blocking for grab bars, fitted or not

    Solid blocking rated to 250 lb behind the board at every likely bar position. Free now, a demolition later.

  • The room put back quiet

    Mineral wool in the wall cavities and under the pan, and a fan chosen at 1.5 sones or below.

Six neighbourhoods, six sets of problems

Where we work, and what we find there

Denver housing stock is not one thing. A 1921 Denver Square, a 1988 split-level and a Cherry Creek condominium fail in completely different ways, and knowing which one you have before we survey saves a day.

Only bathrooms. No kitchens, no additions, no whole-home renovation. It is a narrower business than most remodelers run and it is deliberate: we see the same room, the same failure modes and the same materials every week, which is why we can quote a tub-to-shower conversion to within a day or two.

A tub-to-shower conversion is nine to thirteen working days. A full hall bathroom is twenty-two to thirty. A primary ensuite is thirty to forty-five. Those are days on site; the drawing and selection stages before that take another four to eight weeks, mostly waiting on material lead times.

Almost always, if there is a second bathroom. The room is contained at the door with a zippered barrier and the route in is protected. Water goes off for a few hours at rough-in and again at fixture fit, and we tell you which days those are at the start of the job.

Typically six to ten weeks for a start date, which usually lines up with the drawing and selection period anyway. Survey appointments are generally available within a week.

We plug the drain, fill the finished pan with an inch of water over the flange and leave it for twenty-four hours, photographing it at fill and at drain. If the waterproofing has a pinhole in it, this is when it shows, while the assembly is still open. It is the single cheapest insurance in the whole project and a surprising number of firms skip it.

No, and this is the most common misunderstanding we meet. Cement board is a stable substrate that does not fall apart when it gets wet, which is not the same thing. The waterproofing is a separate bonded membrane applied over it, to ANSI A118.10, with every corner and change of plane banded.

It depends on your joists. A level entry needs the pan recessed an inch and a half to two inches into the floor structure, which needs the joists to run the right way and be deep enough, usually with a sistered header. We answer this on the survey with the floor open where we can, never over the phone.

Asked on nearly every survey

Questions, answered plainly

If yours is not here, the full list runs to eighteen questions grouped by subject, and the phone is answered by somebody who has been in a bathroom this week.

Where we stand

A bathroom is the only room in a house that is asked to hold water against gravity, every day, for thirty years.

Almost everything that goes wrong in a bathroom went wrong before the tile was set. A membrane taken to the wrong thickness. A pan with no pre-slope. A niche sill laid flat. A fan ducted into a soffit. None of it is visible on the day the job is handed over, and all of it is visible four winters later when the ceiling below starts to mark.

So we build the parts nobody photographs as carefully as the parts everybody does. We flood test every shower for twenty-four hours before a single tile goes down, and we put the photographs in your file. We set out the tile on a drawing before we order it, so the cut course lands where you would have put it. And we only do bathrooms, which means we are not learning your room on your budget.

That is the whole position. If it sounds like the way you would want it done, we should talk.

Request an estimate

or call (720) 555-0212, Mon to Thu 7:30 to 4:30

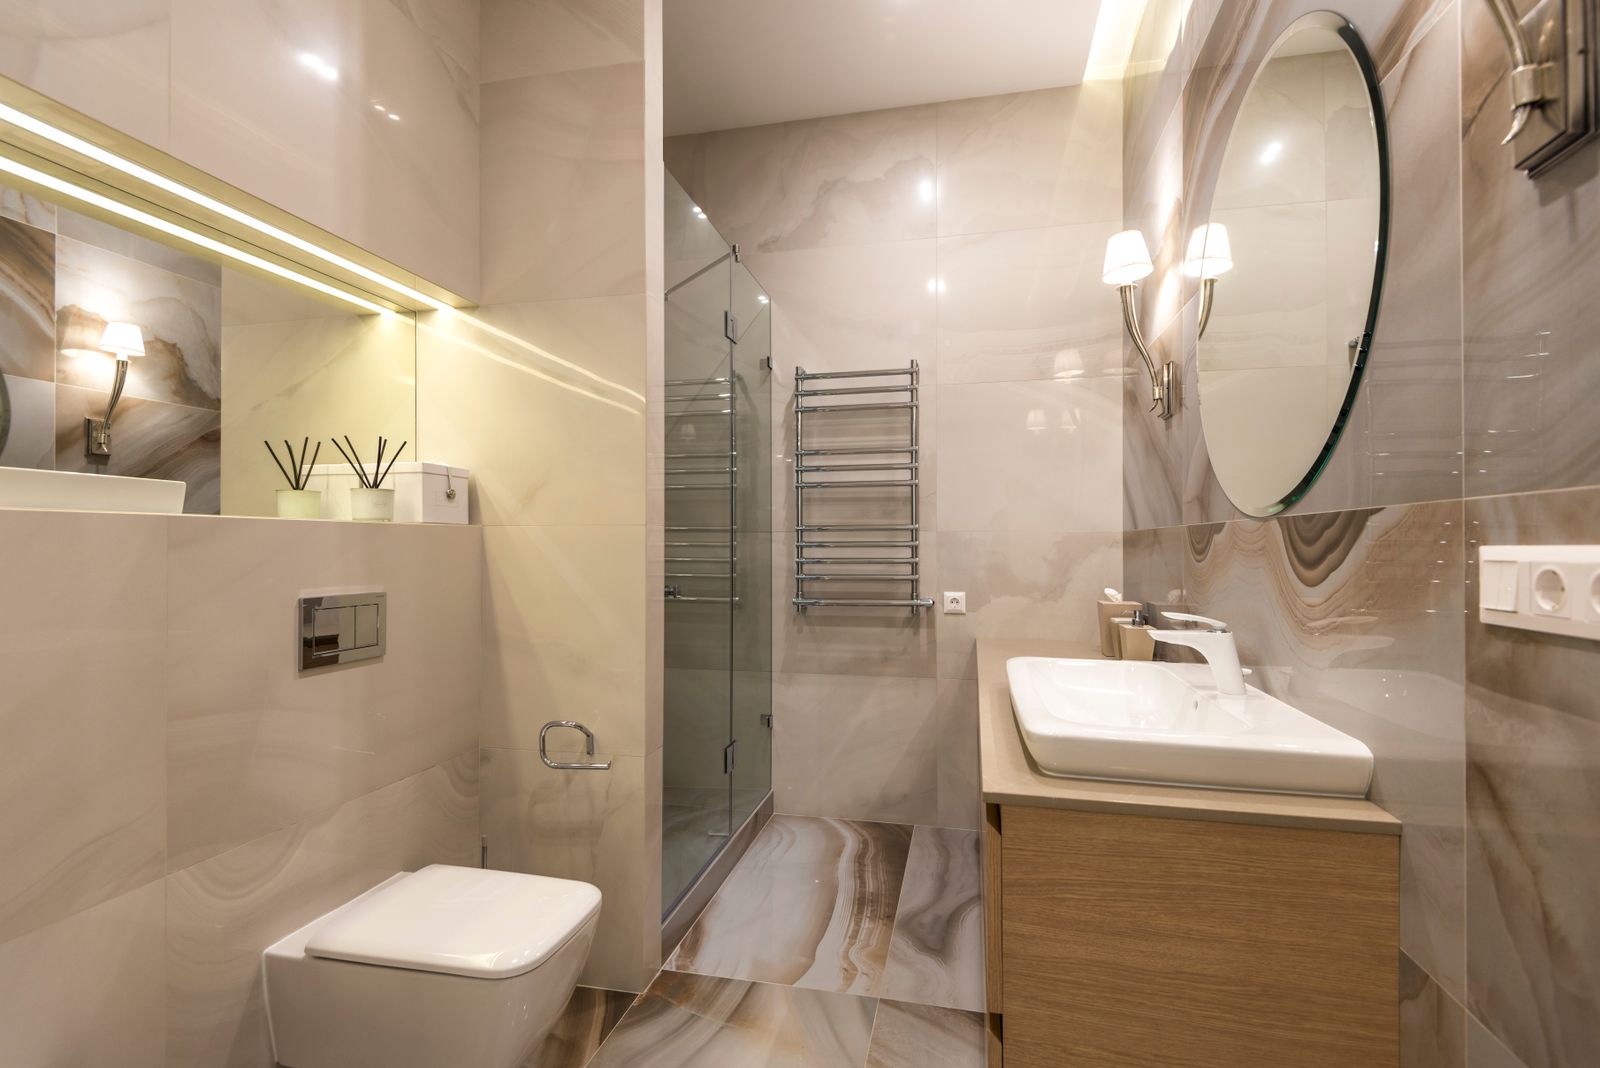
A finished Meridian bathroom in soft daylight, tile joints running unbroken to the corner.

Cookie preferences

Choose which cookies you allow. You can change this at any time from the link in the footer.